
ODS Webmail Example for Encrypting Emails using Asymmetric Key Technology
Assume the following scenario where John sends encrypted email message to Kate:
Prerequisites
- Perform the steps from the Virtuoso ODS-Mail Installation Guide.
- In our example we will use for domain name: mytest.com
- Install the ODS Addressbook vad package: ods_addressbook_dav.vad
Configure ODS User and Webmail settings
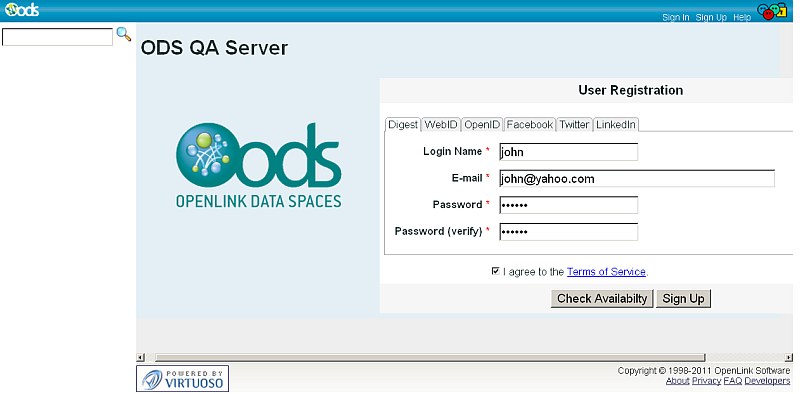
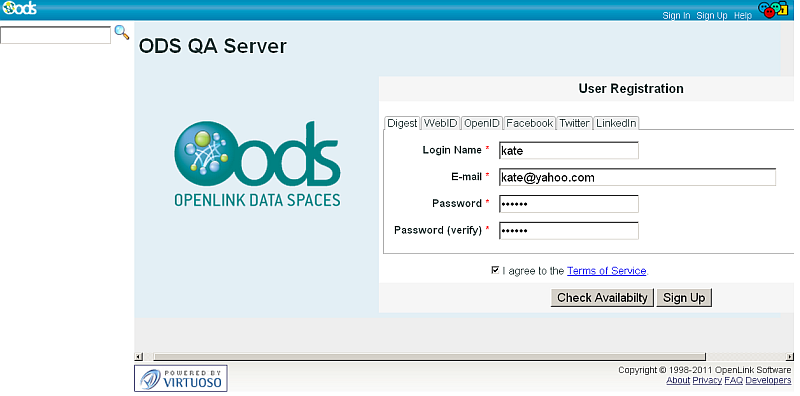
- Register two users in ODS: John and Kate respectively with emails for ex.: john@yahoo.com and kate@yahoo.com
- John and Kate create ODS Webmail instances:
- Go to Application Settings ->Application Management and click "New Web Application" button:


- Click "Create Application" for application type "Mail".
- In the presented form choose domain "mytest.com":
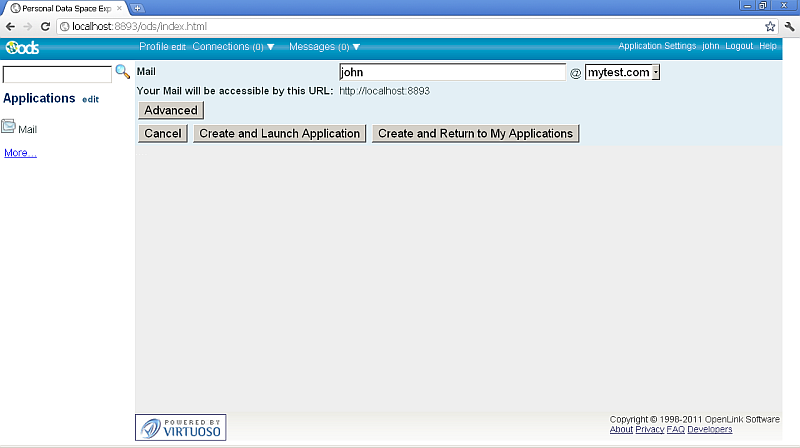
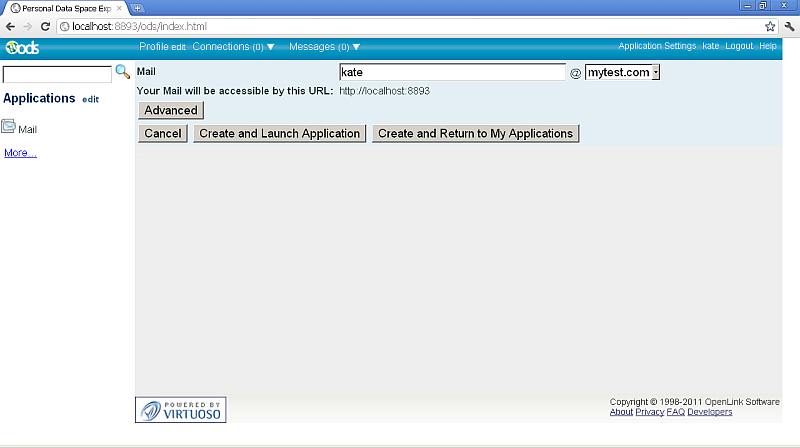
- Click "Create and Launch Application"
- Go to Application Settings ->Application Management and click "New Web Application" button:
- John creates X.509 Certificate with mail john@mytest.com.
- Kate creates X.509 Certificate with mail kate@mytest.com.
- John exports his X.509 Certificate, for ex. to local file with name john.p12.
- Kate exports her X.509 Certificate, for ex. to local file with name kate.p12.
- Kate extracts her Public Key and shares it to John:
$ openssl pkcs12 -in kate.p12 -out KatePublicKey.pem -clcerts -nokeys
Enter Import Password:*******
MAC verified OK
- Suppose the generated Public Key KatePublicKey.pem has the following content:
Bag Attributes
    friendlyName: kate's OpenLink Software, Inc. ID #2
    localKeyID: 86 14 1A E2 08 CD 05 DC 37 37 04 ED A3 A9 7A 2E AF 7C 3D F2
subject=/CN=kate/C=US/O=OL/emailAddress=kate@mytest.com
issuer=/C=US/ST=MA/O=OpenLink Software, Inc./OU=Virtuoso/CN=Root CA/emailAddress=ods@openlinksw.com
-----BEGIN CERTIFICATE-----
MIID3zCCAsegAwIBAgIBRjANBgkqhkiG9w0BAQQFADCBhDELMAkGA1UEBhMCVVMx
CzAJBgNVBAgTAk1BMSAwHgYDVQQKExdPcGVuTGluayBTb2Z0d2FyZSwgSW5jLjER
MA8GA1UECxMIVmlydHVvc28xEDAOBgNVBAMTB1Jvb3QgQ0ExITAfBgkqhkiG9w0B
CQEWEm9kc0BvcGVubGlua3N3LmNvbTAeFw0xMTA2MTUxMjM5MzZaFw0yMzExMTEw
NDM5MzZaMEkxDTALBgNVBAMTBGthdGUxCzAJBgNVBAYTAlVTMQswCQYDVQQKEwJP
TDEeMBwGCSqGSIb3DQEJARYPa2F0ZUBteXRlc3QuY29tMIIBIjANBgkqhkiG9w0B
AQEFAAOCAQ8AMIIBCgKCAQEAuObpEatzo88cyFILUhdW/TRCoyt6e5r8e8+bL6Cd
f0/Yuz9KcSEEUdnobB59EdOa0t9vQ+dAimVBOeRceDz666KUD0UouICKENNUfLCK
MTyGlRr9lzmDpw3hlfIJ7ODtBHQhTD99CPc1E8dksRhWfeMwr7hc+qkT7EJEw1Y9
VYnjTWYPX8UrxVDcg2v9+edoCmA4BjiClb0+y2CMtdSJqGxPyjDBvqCl0cTC2Kpj
4o4WreEDhVS/MBmlj1njxst2TZKm4WDC1XnbHsR8x/HDVnip9yju5z/2l65jviYp
IbAp+WSHpTk4x/hWz3PmyxyyUKpTV4THxZTqSCXD3diJ/wIDAQABo4GVMIGSMB0G
A1UdDgQWBBRBa9q230F9filCpYGDwcMqiGVL8jBCBgNVHREEOzA5hjdodHRwOi8v
b2RzLXFhLm9wZW5saW5rc3cuY29tL2RhdGFzcGFjZS9wZXJzb24va2F0ZSN0aGlz
MC0GCWCGSAGG+EIBDQQgFh5WaXJ0dW9zbyBHZW5lcmF0ZWQgQ2VydGlmaWNhdGUw
DQYJKoZIhvcNAQEEBQADggEBACS1UtjcZnuVD4rH5Bzdpgg/lwwf3w8xN2HVhH20
4akMT9PvNVQaxcprBCLTmfXZ7mi14GiGvkKND/3wdDrp+06J3NE28/0uYPL6HS4b
Uak9U4PRXcsLKTyHSnZ6zHll/cQ4f8V9U4Wjm2/BXxNeOdEB2U3NVG1lhc2xBBs8
NkXNl78xb9ME99EIaZKuASPBspY+tWPmofL0DPGH32hsPDGLrKWR/RAE1EqItyJe
p4+Fdm5sD7xgzHNuPLj9YYRfxHq31Al7cZZYh9fdvCYJQZDNDulxySqFI+tZ7SCp
EMTMShHZxJNQCF0yHO4d3tOIzZq3EaaYQ4FguCTH0kQ7eiE=
-----END CERTIFICATE-----
- Suppose the generated Public Key KatePublicKey.pem has the following content:
- John creates ODS AddressBook instance: from "Application Settings ->Application Management" or click "AddressBook" from the left vertical navigation:
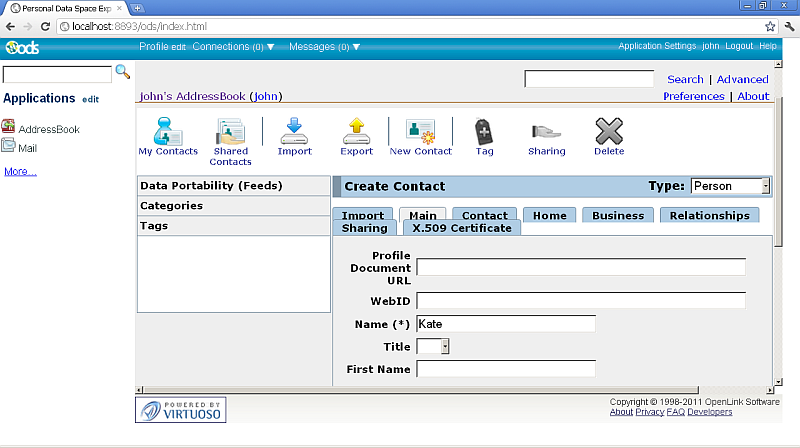
- John adds a new AddressBook contact with name "Kate":
- In the AddressBook UI, click "New contact":
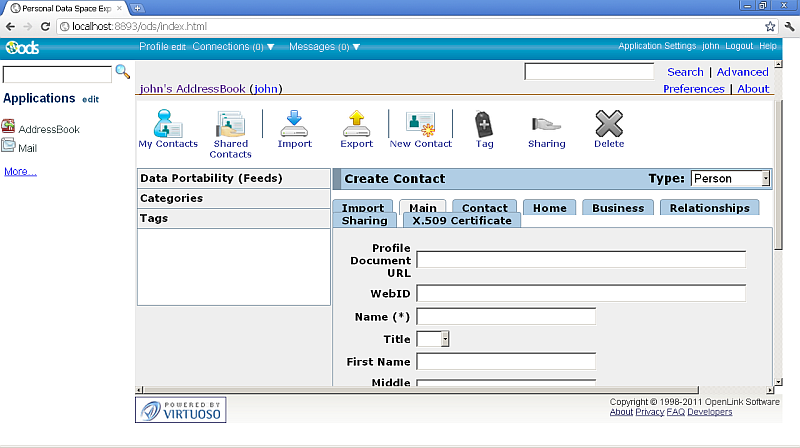
- In the presented "Main" tab enter "name": Kate
- Go to tab "Contact" and enter "Mail": <none>

- Go to tab "X.509 Certificate" and enter the content of the Public Key from above for Kate: KatePublicKey.pem:

- In the AddressBook UI, click "New contact":
- John and Kate set in their ODS Profile a Private Key:
- Go to Profile ->Edit ->Security->Certificate & Private Key
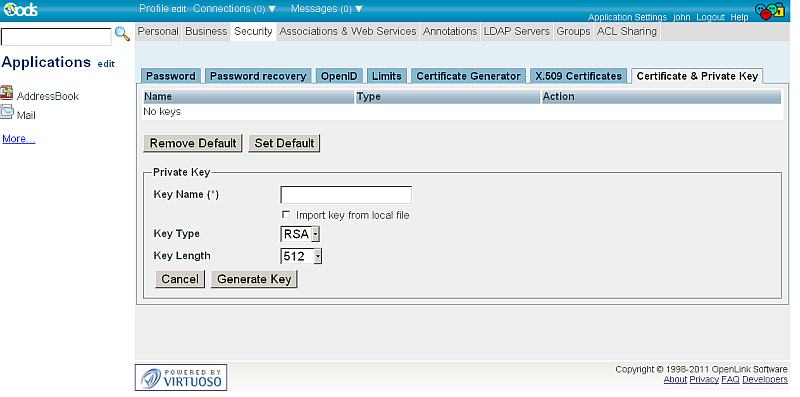
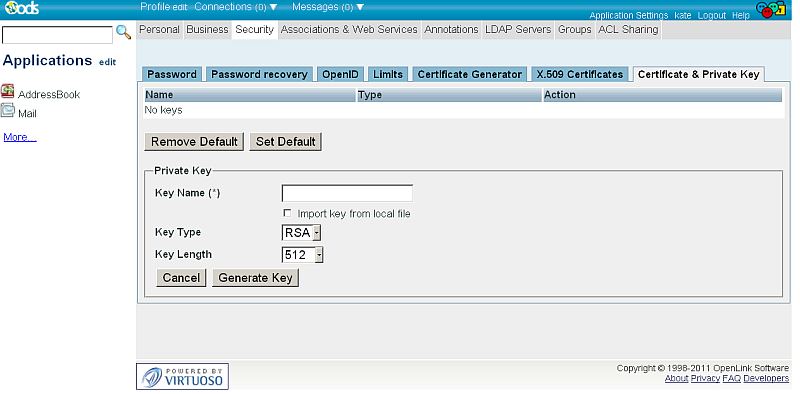
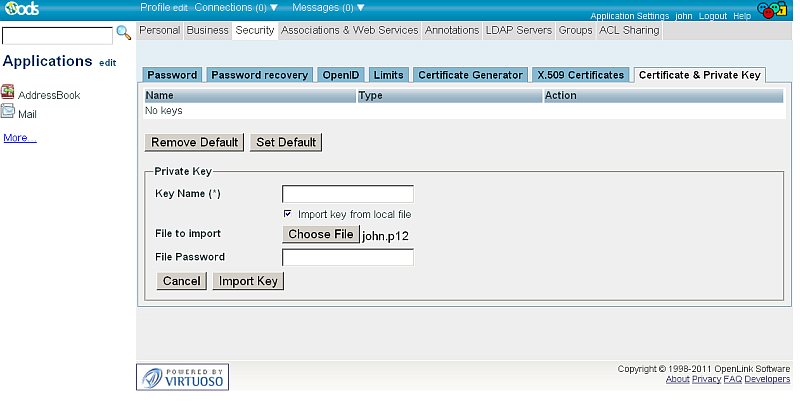
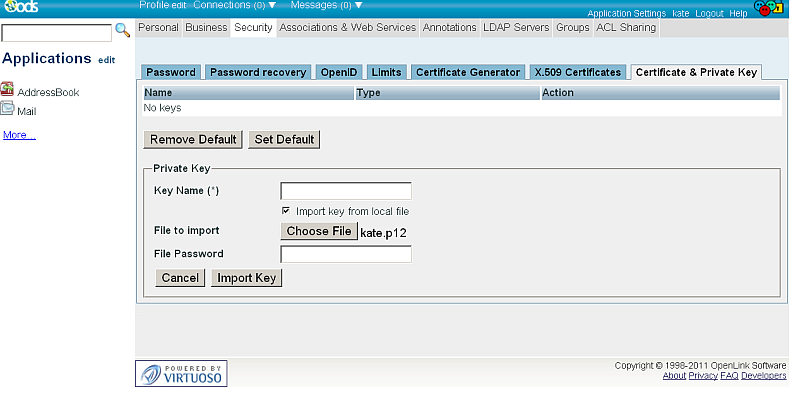
- Click "Import key from local file" and respectively for John select his certificate john.p12 and for Kate select her certificate kate.p12:
- Enter "Key Name" for ex.
respectively for John: JohnKey and for Kate: KateKey and provide the certificate password:
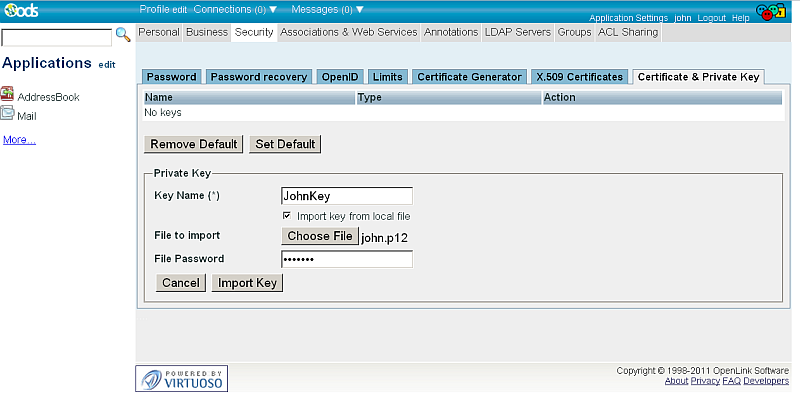
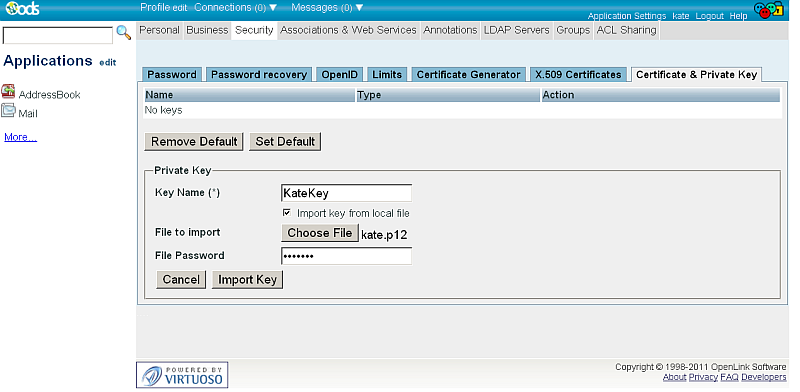
- Click "Import Key"
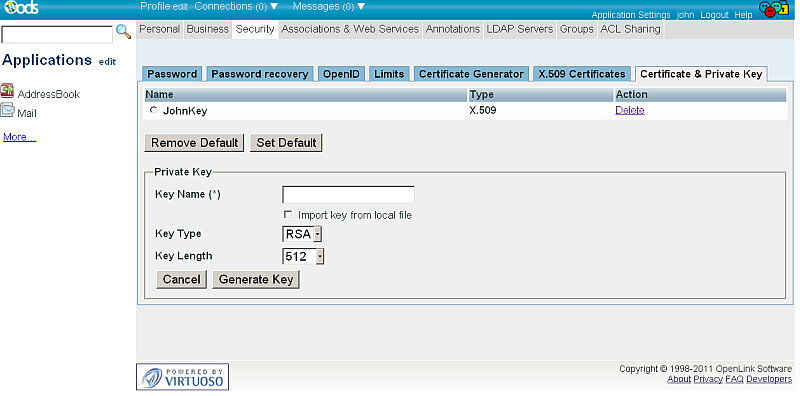
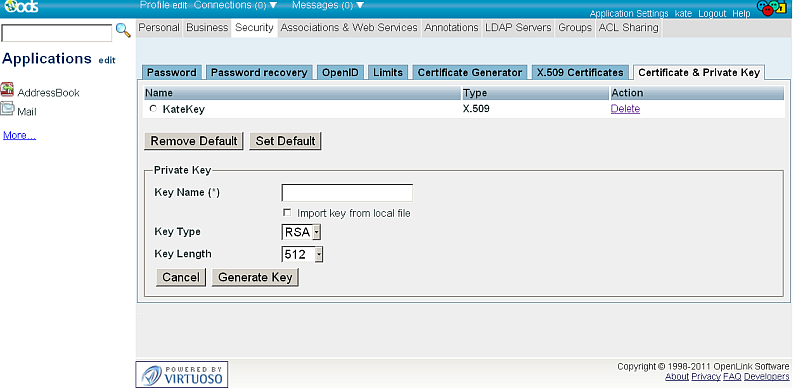
- As result for both John and Kate should be displayed in the Certificate & Private Key List the imported certificate:
- Go to Profile ->Edit ->Security->Certificate & Private Key
- John configures his Webmail Settings:
- Go to Webmail instance->Preferences and set:
- For "Encryption (with certificate)": select the "JohnKey" key.
- Select "Required (can't send message unless all recipients have certificates)"
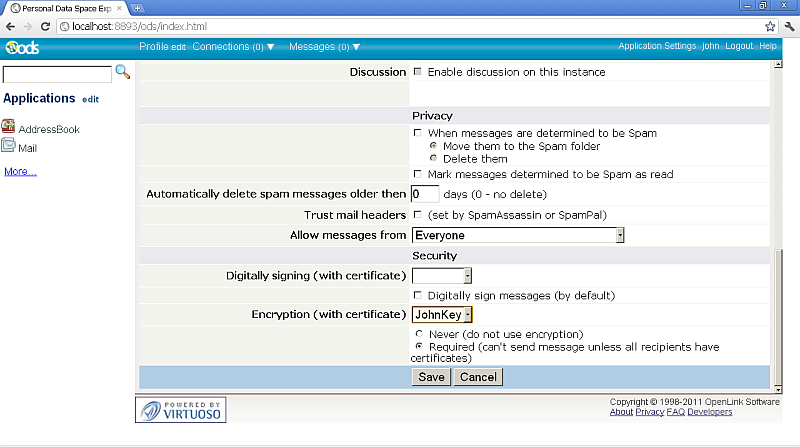
- Finally click "Save"to set the changes.
- Kate goes to her Webmail instance->Preferences and sets:
- For "Encryption (with certificate)": select the "KateKey" key.

- Finally click "Save"to set the changes.
- For "Encryption (with certificate)": select the "KateKey" key.
- Go to Webmail instance->Preferences and set:
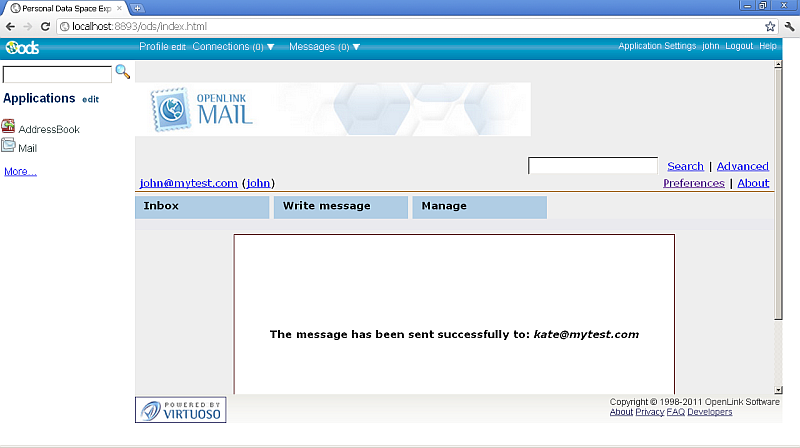
- John sends encrypted email message to Kate:
- John goes to his Webmail instance -> Write Message:
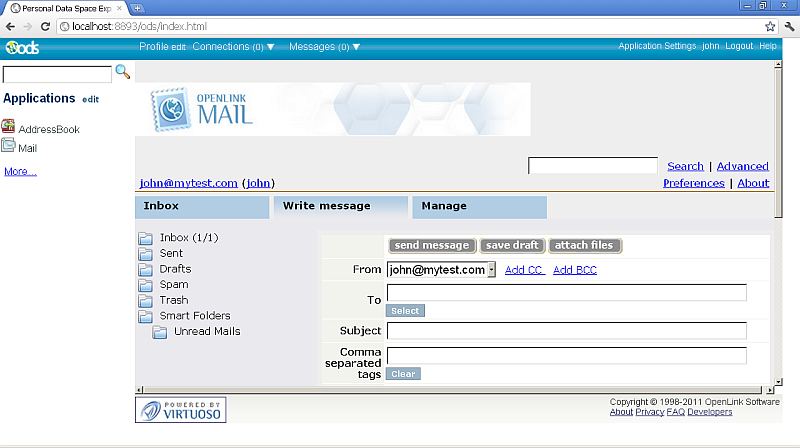
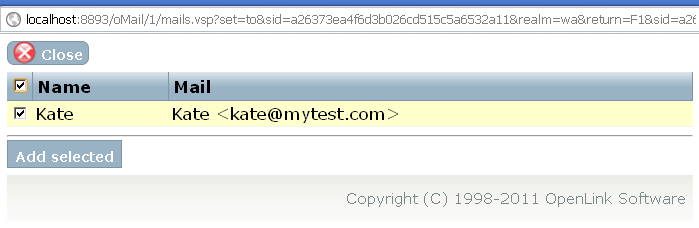
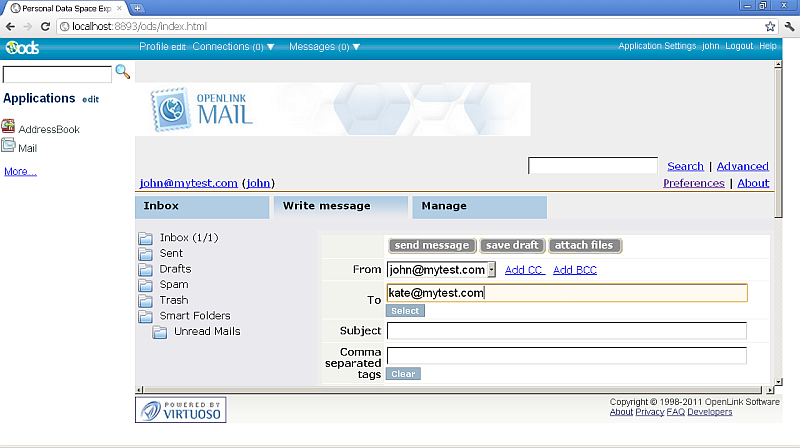
- For "To" field clicks the "Select" button or manually enters Kate's email kate@mytest.com>
- John enters "Subject" for ex: "This is encrypted msg" and "Message": "Simple test"
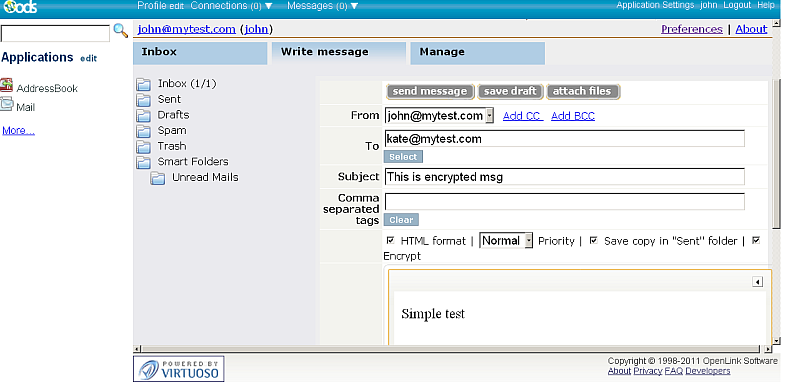
- John clicks "send message" and message for successfully sending the message should be shown:
- John goes to his Webmail instance -> Write Message:
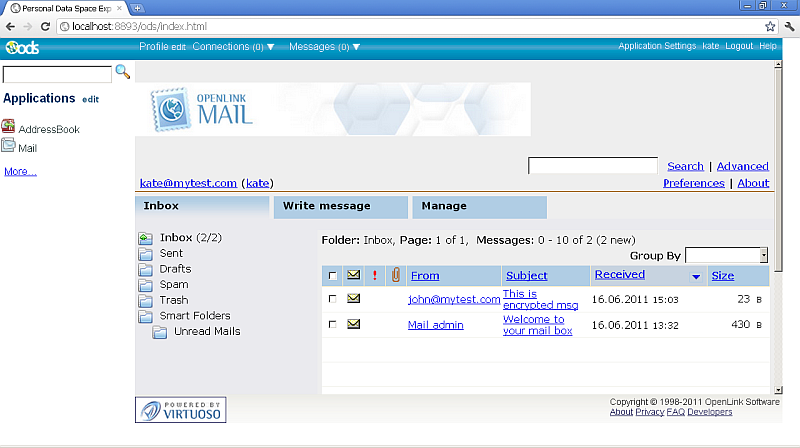
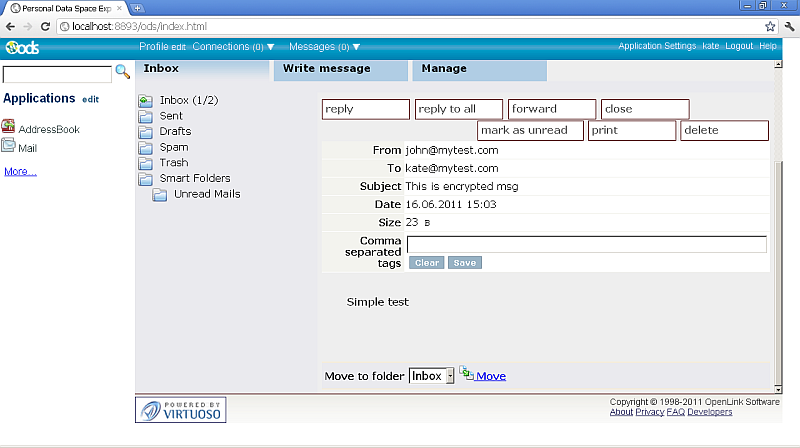
- Kate receives the encrypted message from John:
- Kate goes to her Webmail instance -> Inbox where should be displayed the new message from John:
- Kate goes to her Webmail instance -> Inbox where should be displayed the new message from John:
Related
- ODS-Mail
- ODS Webmail Example for Encrypting Emails using special search by domain
- ODS Webmail Guide for Optionally Encrypting Emails
- ODS Guide for Sending Digitally Signed Messages
- ODS-Mail Evaluate SMIME + WebID Support Guide