Guide to using ODS-Mail for Mail Merge
What is it?
ODS-Mail has an "Email Merge" feature that enables dynamic email message construction, merging content with data from:
- ODS-AddressBook?
- vCard collections
- CSV documents
These "merge-sources" may be local or remote HTTP-accessible files, including SPARQL SELECT Queries which deliver CSV-formatted output.
Why is this important?
Just as printed mail merges once did, this provides a productive mechanism by which to generate email messages to dispatch information, on a highly focused basis, to relevant contacts.
How do I use it?
Step 1 - Prepare Recipient List
Create or locate your recipient list ("merge-source" document), in any supported format --
- vCard
BEGIN:VCARD VERSION:2.1 N:Gump;Forrest FN:Forrest Gump ORG:Bubba Gump Shrimp Co. TITLE:Shrimp Man PHOTO;GIF:http://www.example.com/dir_photos/my_photo.gif TEL;WORK;VOICE:(111) 555-1212 TEL;HOME;VOICE:(404) 555-1212 ADR;WORK:;;100 Waters Edge;Baytown;LA;30314;United States of America LABEL;WORK;ENCODING=QUOTED-PRINTABLE:100 Waters Edge=0D=0ABaytown, LA 30314=0D=0AUnited States of America ADR;HOME:;;42 Plantation St.;Baytown;LA;30314;United States of America LABEL;HOME;ENCODING=QUOTED-PRINTABLE:42 Plantation St.=0D=0ABaytown, LA 30314=0D=0AUnited States of America EMAIL;PREF;INTERNET:forrestgump@example.com REV:20080424T195243Z END:VCARD - CSV
key,firstName,lastName,mbox 0,John,Smith,john.smith@example.com 1,Anna,Clarks,anna.clarks@example.com 2,Rojer,Danrette,rojer.danrette@example.com 3,Kate,Sigton,kate.sigton@example.com 4,Tim,Craft,tim.craft@example.com - SPARQL Query Results URL where the output format is set to CSV
- Suppose the following SPARQL query:
PREFIX rdf: <http://www.w3.org/1999/02/22-rdf-syntax-ns#> PREFIX foaf: <http://xmlns.com/foaf/0.1/> SELECT DISTINCT ?person, ?firstName, ?lastName, ?mbox WHERE { ?person a foaf:Person ; foaf:firstName ?firstName ; foaf:lastName ?lastName ; foaf:mbox ?mbox } LIMIT 100 - Test it against your Virtuoso SPARQL Endpoint before passing it to the email merge tool.
- The SPARQL Query Results URL is:
http://example.com/sparql?default-graph-uri=&query=PREFIX+rdf%3A++%3Chttp%3A%2F%2Fwww.w3.org%2F1999%2F02%2F22-rdf-syntax-ns%23%3E%0D%0APREFIX+foaf%3A+%3Chttp%3A%2F%2Fxmlns.com%2Ffoaf%2F0.1%2F%3E%0D%0ASELECT+DISTINCT+%3Fperson%2C+%3FfirstName%2C+%3FlastName%2C+%3Fmbox%0D%0AWHERE+%0D%0A++{%0D%0A++++%3Fperson+a+foaf%3APerson+%3B%0D%0A++++++++++++foaf%3AfirstName+%3FfirstName+%3B%0D%0A++++++++++++foaf%3AlastName++%3FlastName+%3B%0D%0A++++++++++++foaf%3Ambox++++++%3Fmbox+.%0D%0A++}++%0D%0ALIMIT+100&format=csv&CXML_redir_for_subjs=121&CXML_redir_for_hrefs=&timeout=30000&debug=on - Live results should be similar to the following:
"person","firstName","lastName","mbox"
"http://www.miroslavmilic.com/#Miroslav%20Milic","Miroslav","Mili?","mailto:miroslav.milic@gmail.com"
"http://www.morelab.deusto.es/resource/pcuriel","Pablo","Curiel","mailto:pablo.curiel.alamo@gmail.com"
"http://www.morelab.deusto.es/resource/pcuriel","Pablo","Curiel","mailto:pcuriel@deusto.es"
"http://www.morelab.deusto.es/resource/pcuriel","Pablo","Curiel","mailto:pablo.curiel@deusto.es"
"http://tw.rpi.edu/instances/EricRozell","Eric","Rozell","mailto:rozele@rpi.edu"
"http://tw.rpi.edu/instances/EricRozell","Eric","Rozell","mailto:rozele@rpi.edu"
"http://tw.rpi.edu/instances/TimLebo","Tim","Lebo","mailto:lebot@rpi.edu"
"http://f-dengler.de/foaf#fd","Frank","Dengler","mailto:frank.dengler@kit.edu"
"http://f-dengler.de/foaf#fd","Frank","Dengler","mailto:dengler@aifb.uni-karlsruhe.de"
"http://f-dengler.de/foaf#fd","Frank","Dengler","mailto:dengler@kit.edu"
"http://f-dengler.de/foaf#fd","Frank","Dengler","mailto:frank.dengler@aifb.uni-karlsruhe.de"
- The SPARQL Query Results URL is:
- Suppose the following SPARQL query:
Step 2 - Prepare Merge Template
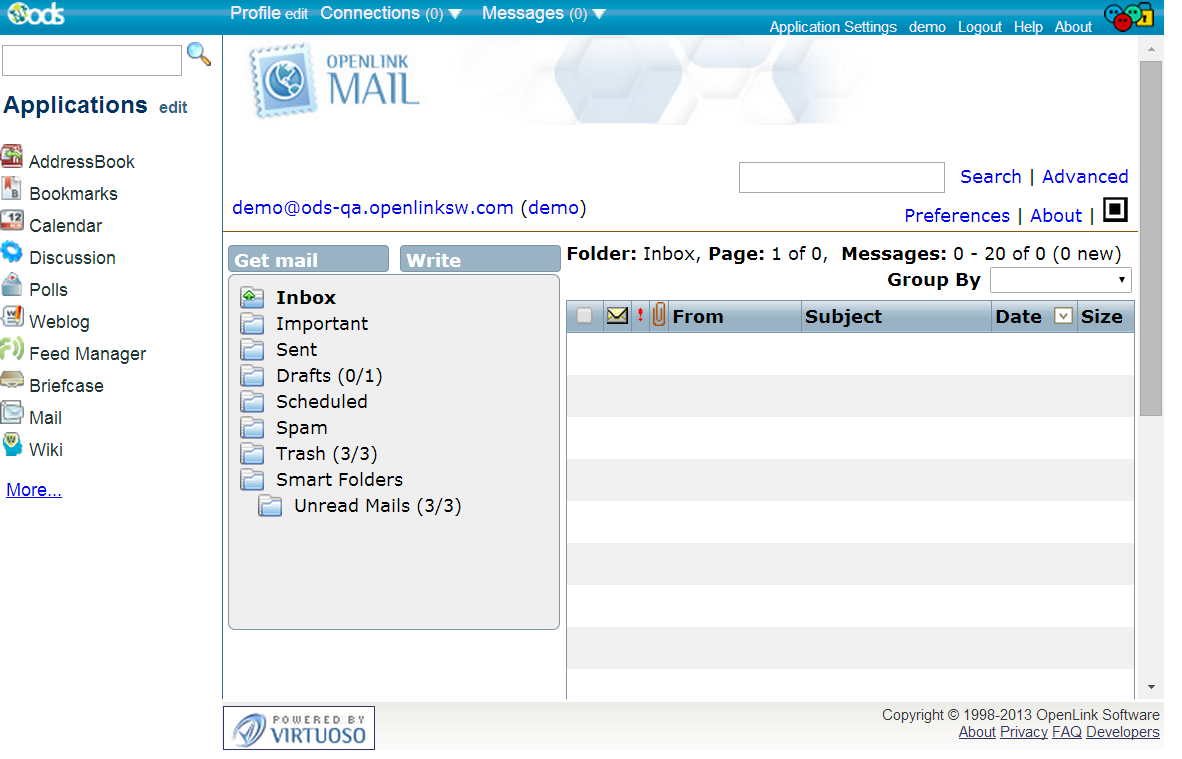
- Go to the ODS-Mail application home page:
- Drill down to Preferences -> Templates:
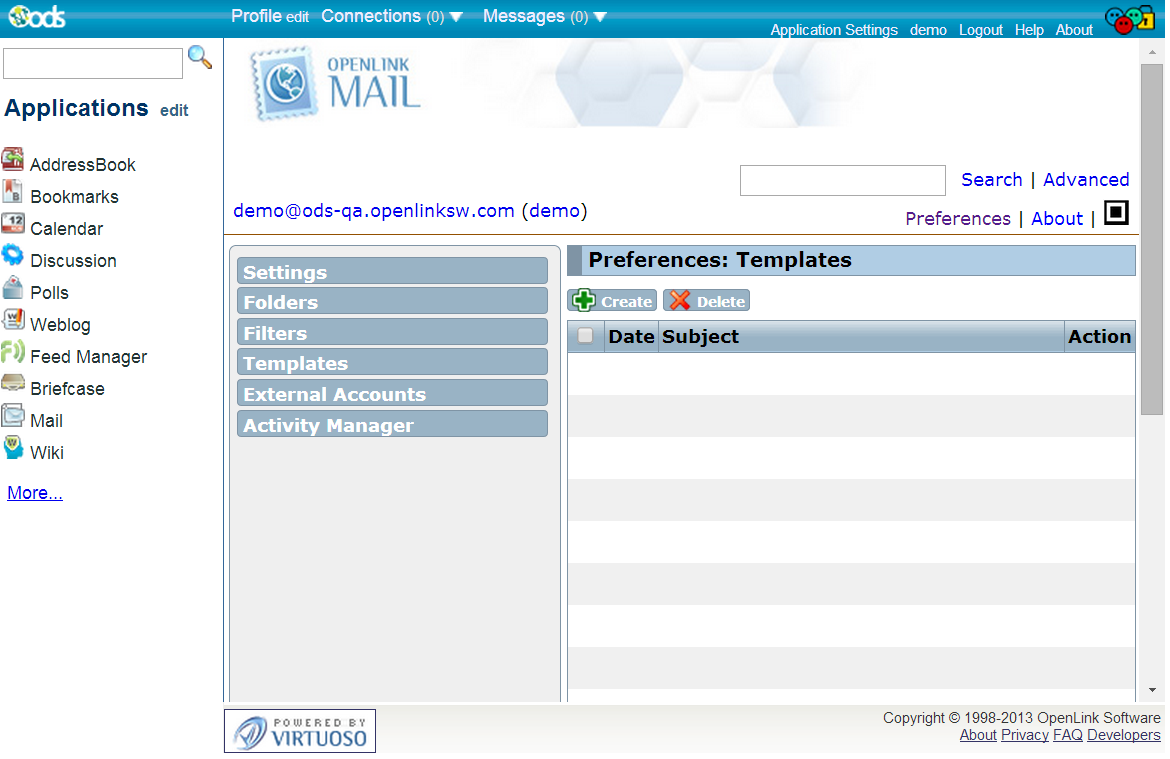
- Click Create for a new Template, or click Edit to work with an existing one:
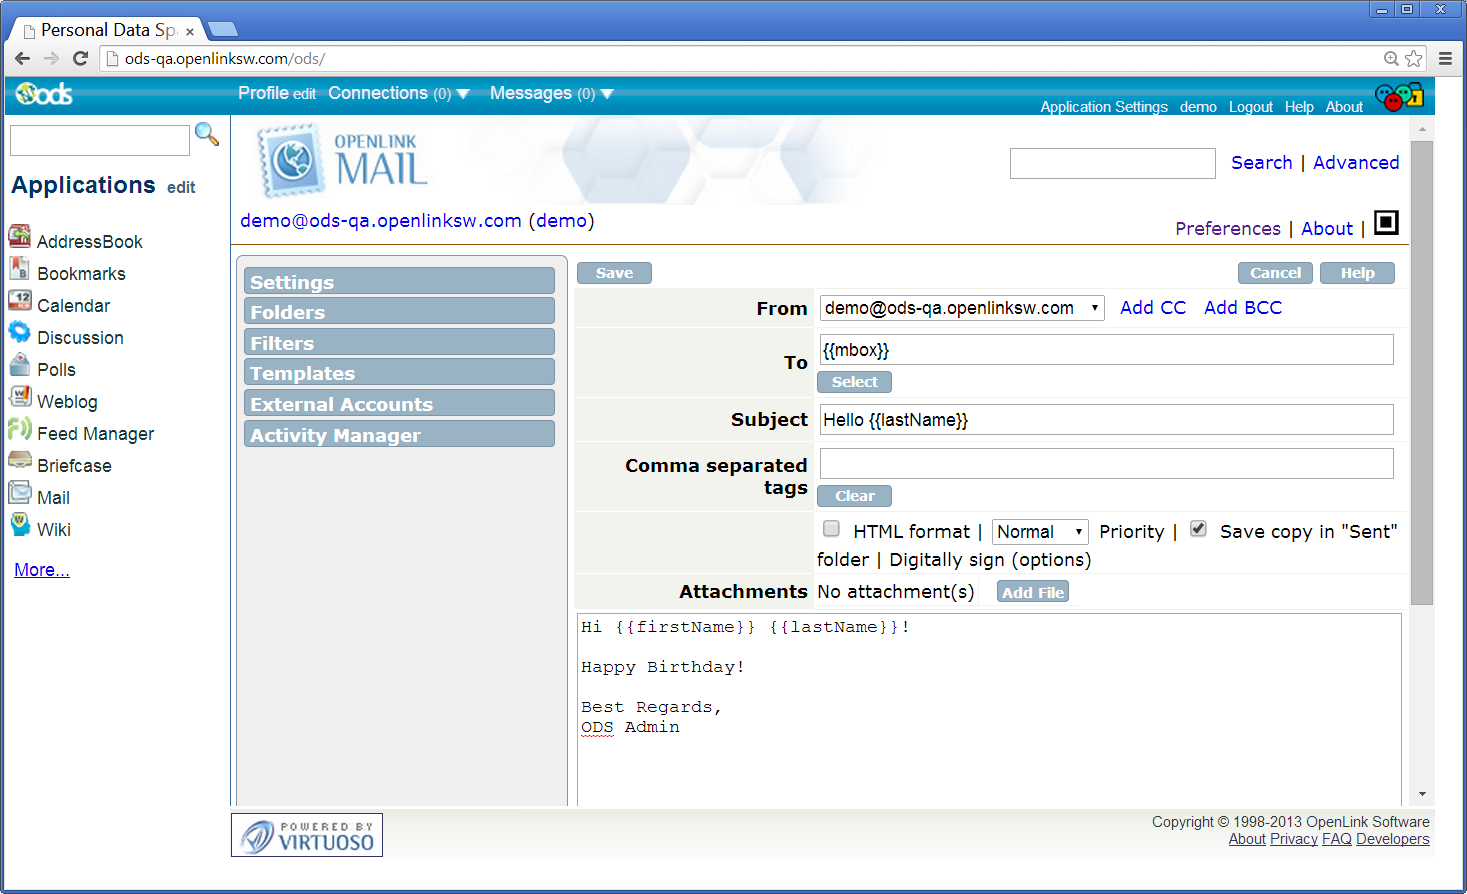
- ODS-Mail supports merge placeholders only in the
To:andSubject:headers, and the message body. - Wrap placeholder strings in double-braces (e.g.,
{{place holder}}) to indicate content merge insertion points. - If you can, use placeholder strings that match the field names you've used in your merge source. Don't worry if you don't know what those names are yet -- during the mail merge process, you will be prompted to set up a manual mapping between any unrecognized template placeholders and the fields in your merge-source.
- ODS-Mail supports a number of default template placeholders, which follow the other conventions for field mapping in ODS.
If your placeholders have other names, then you will be prompted to provide a mapping for this merge.
{{Title}}{{First Name}}{{Middle Name}}{{Last Name}}{{Gender}}{{Birthday}}{{Company}}{{Job Title}}{{Home Street}}{{Home Street 2}}{{Home City}}{{Home State}}{{Home Postal Code}}{{Home Country}}{{Home Phone}}{{Home Fax}}{{E-mail Address}}
- Due to nuances of Web browser, Web server, Mail server, and Mail client interaction, you may want to test with a simple merge to only yourself, to ensure that all content is delivered as intended.
For example:
- In the "To:" header --
To: "{{name}}" <{{mbox}}>
-- will preview and be output as the SMTP-deliverable --
To: Fred Jones fjones@example.com
-- while --
To: "{{name}}" <{{mbox}}>
-- will preview as --
To: "Fred Jones" <fjones@example.com>
-- but be output as the SMTP-undeliverable --
To: "Fred Jones" <fjones@example.com> - In the Body --
Dear {{firstname}},
-- will render as --
Dear Fred, - In the Body --
"{{firstname}} {{lastName}}" <{{mbox}}>
-- will render as --
"Fred Jones" <fjones@example.com>
- In the "To:" header --
- ODS-Mail supports merge placeholders only in the
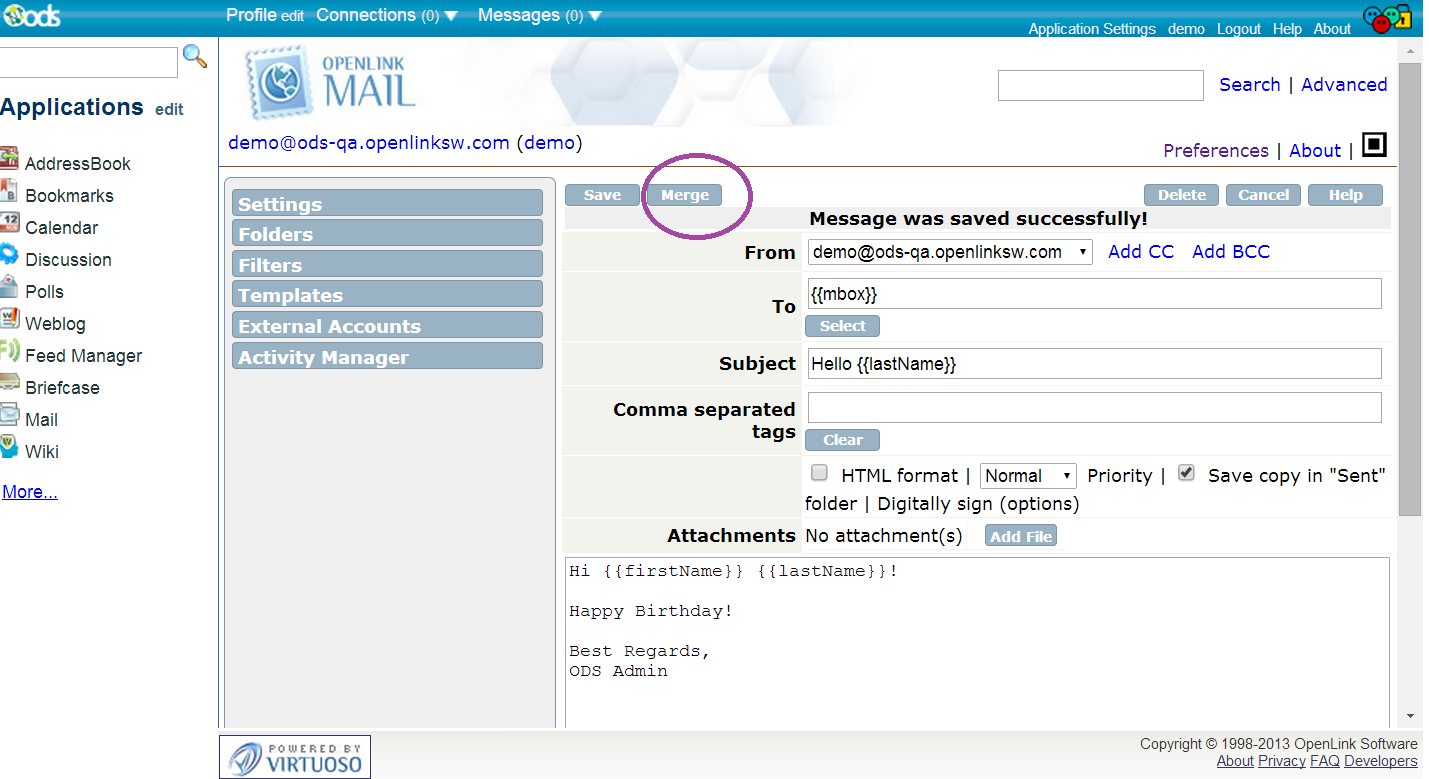
- Click Save to preserve your changes. Note: When creating a new template, you will only have a Save button, until you do so. When editing an existing template, you will have both Save and Merge buttons from the start, and clicking Merge will automatically save your changes before proceeding. If you wish to discard changes to the template, you must click the Cancel button.
- Click Merge button to save your changes and proceed to the actual email merge-and-send process:
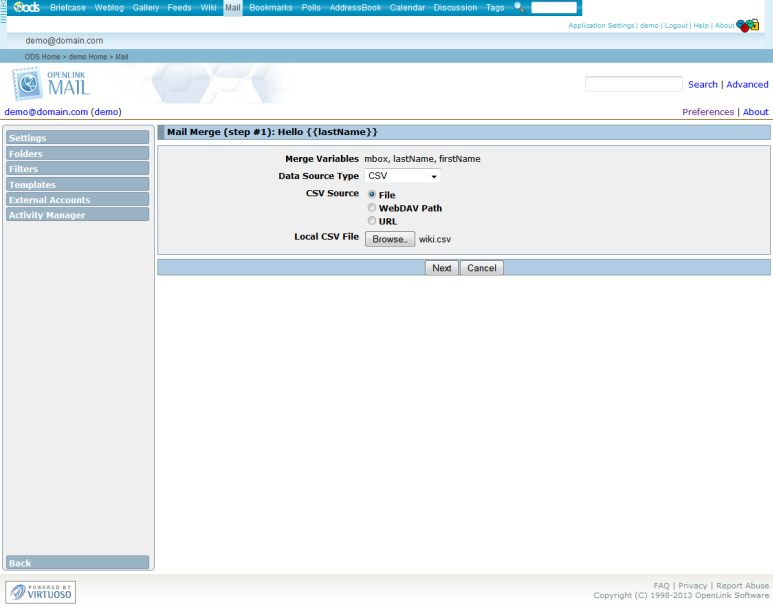
Step 3 - Preview and Send the Merged Messages
- Click Merge, and then select a CSV data source
- Map each template placeholder to a column name in the structured data source, and indicate whether this column should be used for record de-duplication.
  mbox      => E-mail Address
  lastName  => Last Name
  firstName => First Name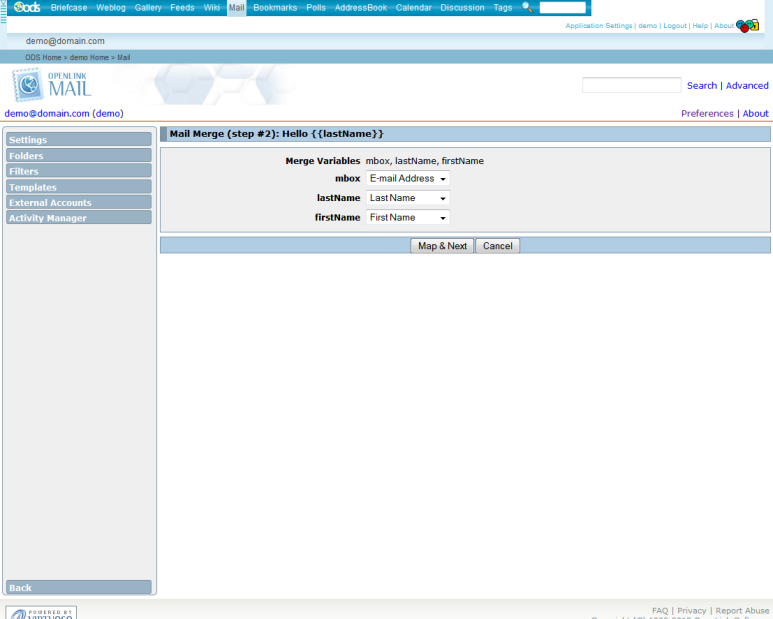
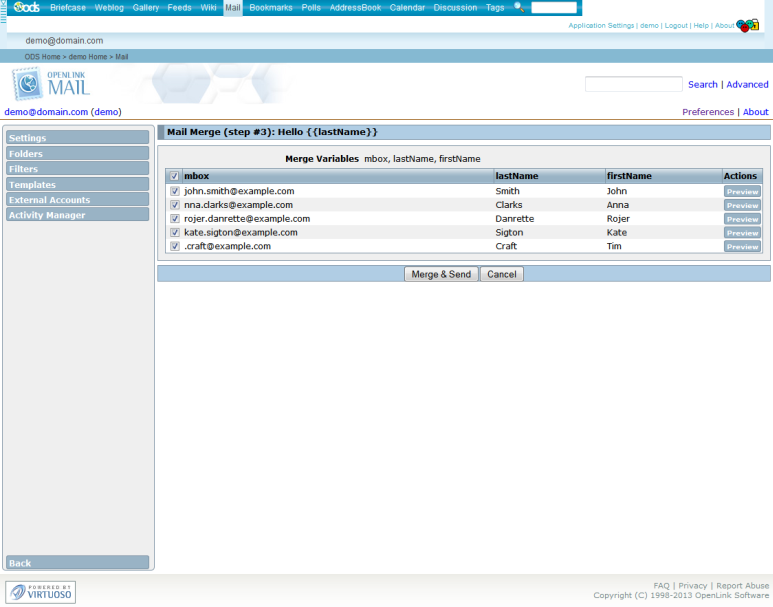
- Merge the data with the template, and preview the mapping and email messages:
- Table showing mappad data
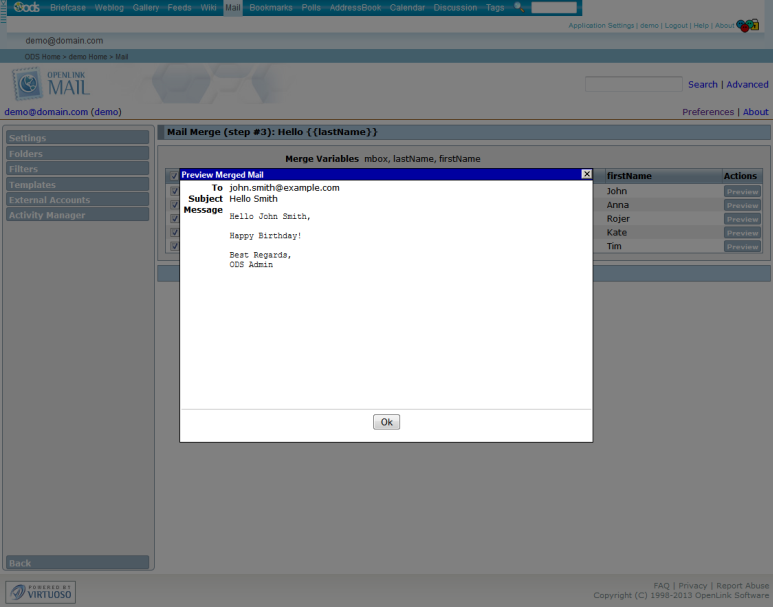
- Preview single message
- Table showing mappad data
- Send messages
Glossary
- merge-source -- data source for email merge, in a supported format (i.e., CSV or vCard)
- placeholder -- marker of the form, "
{{mbox}}," indicating the merge insertion points in a template