Using ODS-Briefcase to mediate access to data stored on Microsoft
Introduction
Microsoft OneDrive (formerly
OneDrive file storage offers users a number of features:
- Free online storage: allows 7GB of free online cloud storage
- Can be used for back up of photos or documents, or for making them public and/or sharing a folder with friends
- Drag-and-drop upload: uploading files by simply dragging files from one's computer and dropping them into
OneDrive - Create and share office (Word, Excel, and
PowerPoint) documents which can then be shared through Hotmail
ODS-Briefcase offers a new "
- Specify credentials for authentication against
OneDrive, enabling retrieval of any or all of your folders and files, including any associated metadata - Specify which Sponger Extractor Cartridges and Sponger Meta Cartridges should be run against your
OneDrive data - Save fetched data, metadata, and Sponger output, into a newly created
OneDrive-specific RDF Graph in the Virtuoso RDF Quad Store - Specify other ODS Users or
WebID ACLs who should be granted access to your OneDrive data through ODS-Briefcase
Example
Here is a sample scenario showing the whole process, from setting the Windows Live API key in ODS, to retrieving all
Prerequisites
- A Windows Live user account
- Files and folders (data) stored in your OneDrive Space
- Administrative (DBA) access to a Virtuoso Server instance, on which the following have been installed --
Steps
1 - Get a Live Connect API key for use with ODS-Briefcase
Note that at present, each Virtuoso + ODS instance can only be configured with a single Live Connect API key, which will then be used by all ODS-Briefcase users when targeting- Browse to <http://msdn.microsoft.com/en-us/live/ff519582>:

- Click on My Apps -- or browse directly to https://manage.dev.live.com/ -- and enter your Windows Live user credentials:
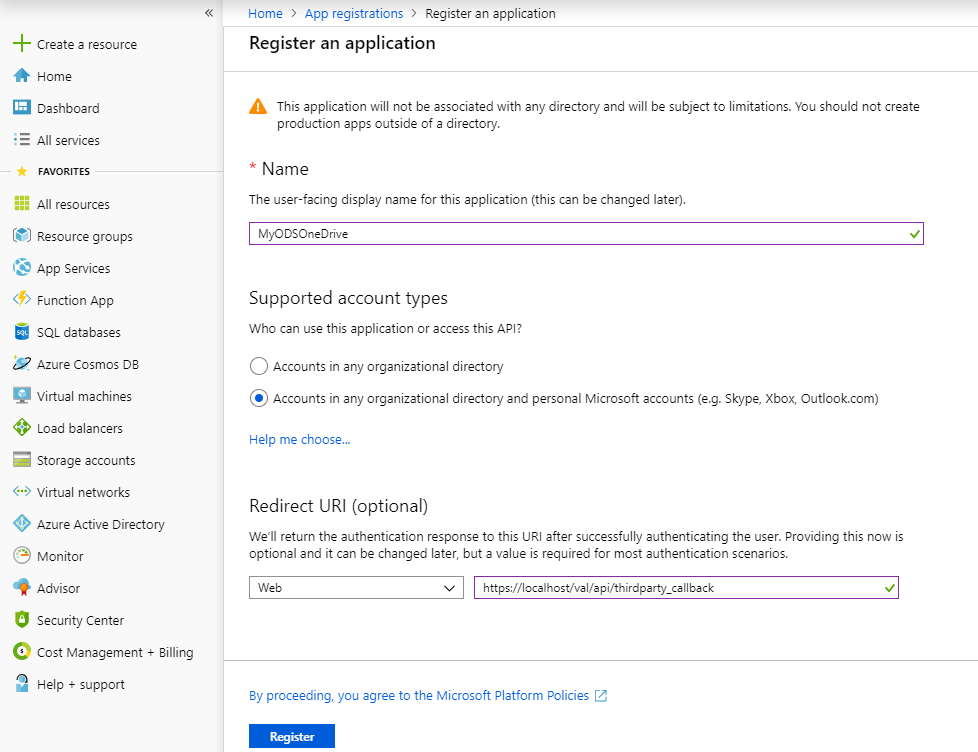
- Enter a name for your Live Connect client application (i.e., your ODS-Briefcase instance) to be known by, e.g., "
MyODSOneDrive", choose the primary language Windows Live should use when interacting with its users, and click the I Accept button:
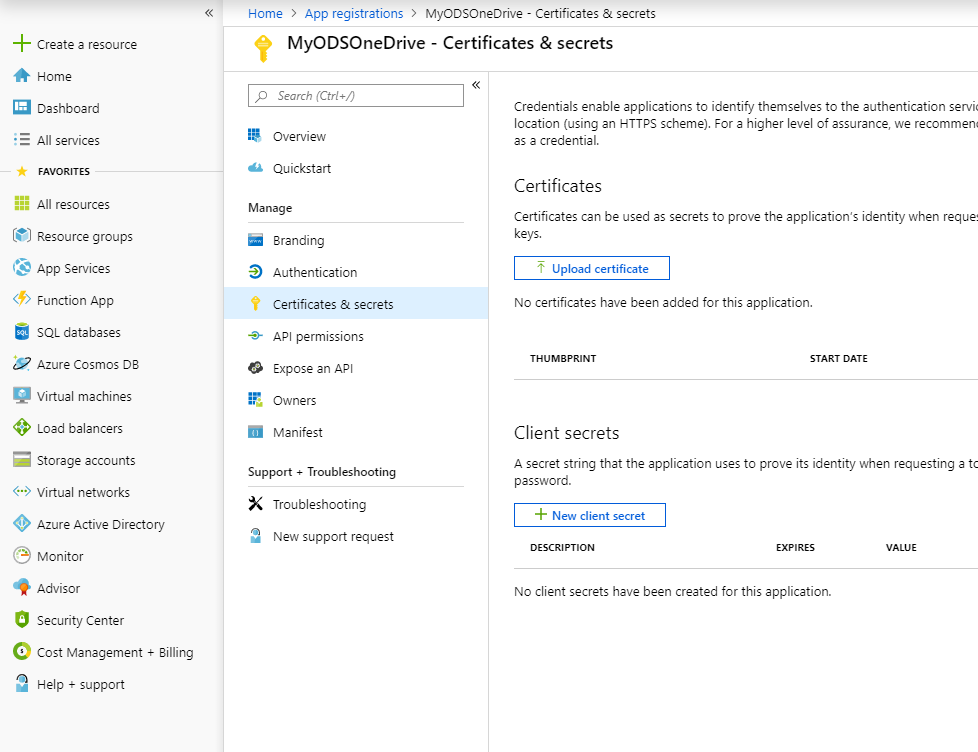
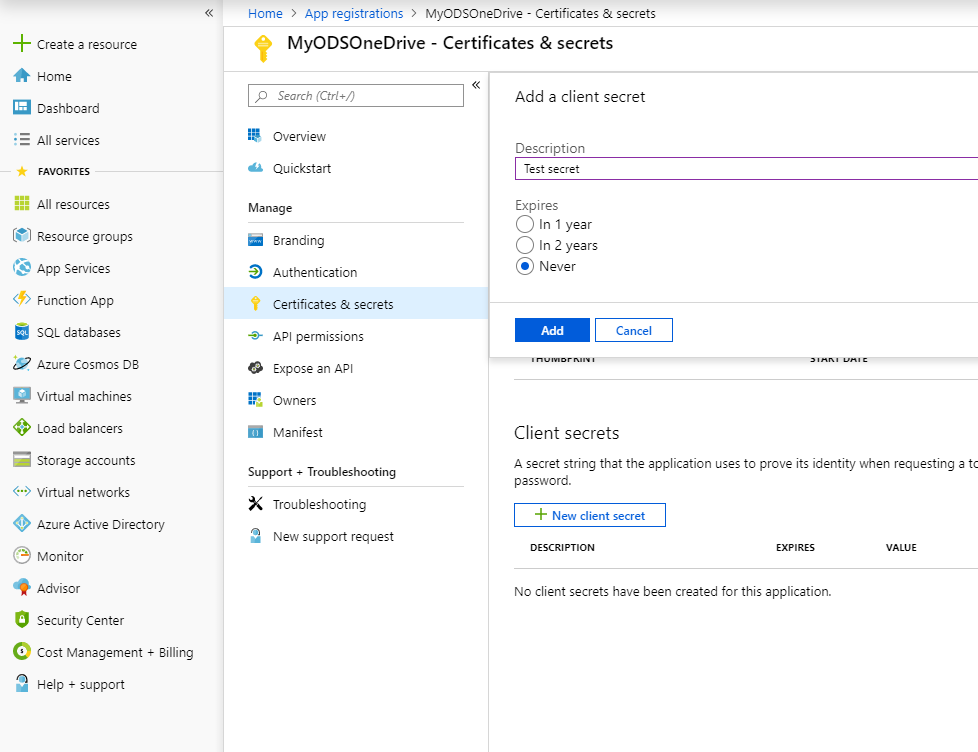
- You will be shown a Client ID and Client Secret for the newly registered application.
(You can copy these now, or come back for them later; they will also show up on the "API Settings" section of the "Application Settings Page".
Do be aware that you will need these in the steps that follow.) Click Application Settings Page.
- Click API Settings.
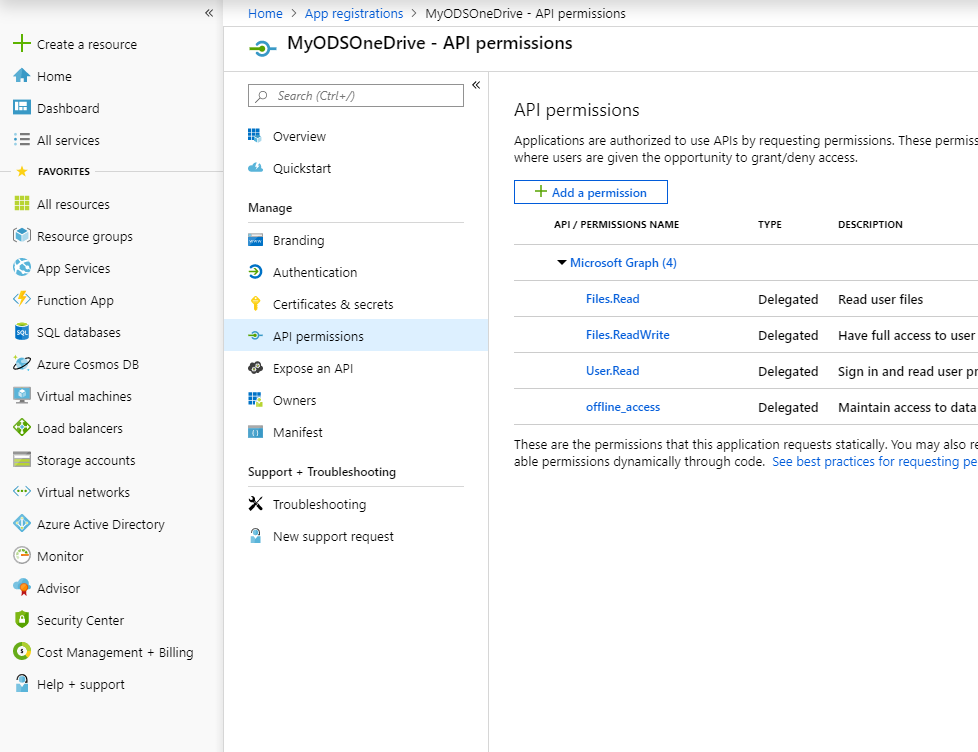
- Set the Redirect domain to the authority component of your Virtuoso + ODS instance URL,
http://<cname>[:<port>], e.g., <http://example.com>, and click Save. Note that Live Connect only permits oneOneDrive client application to come from a given domain. Click Save.

- You can close this tab/window once your changes are shown as saved:

2 - Configure ODS to use your Live Connect API key and secret
- Browse to your Virtuoso + ODS instance,
http://<cname>[:<port>]/ods, e.g., <http://example.com/ods/>, and click Sign In.

- Log in as a Virtuoso+ODS user with Administrator privileges, e.g.,
dba.
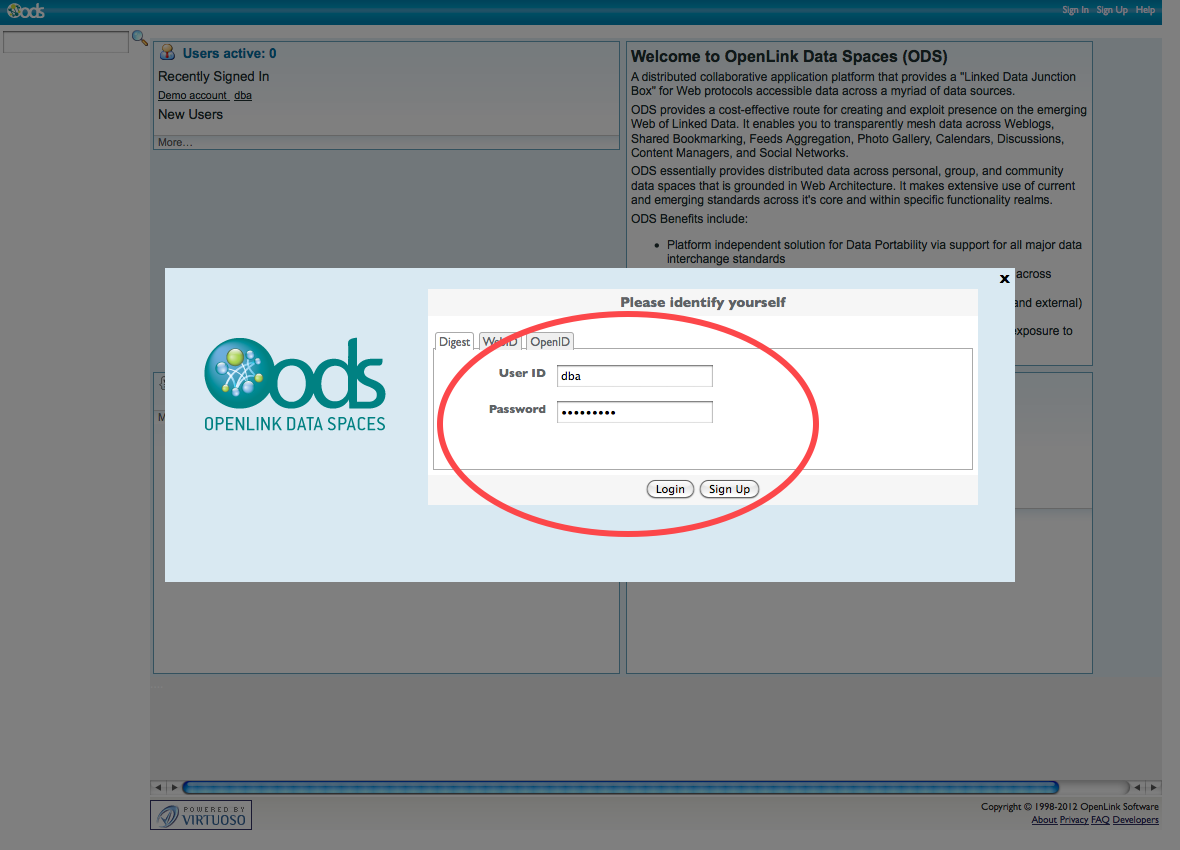
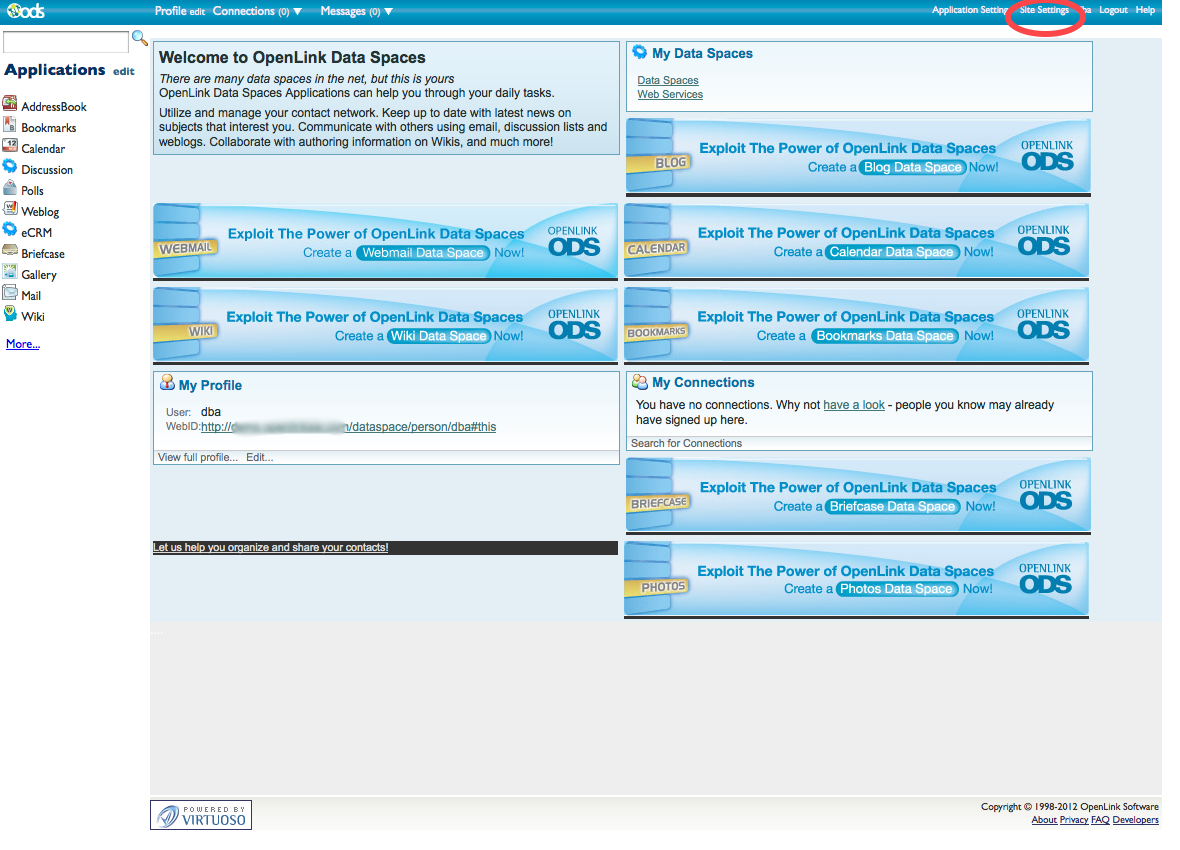
- Click on Site Settings:
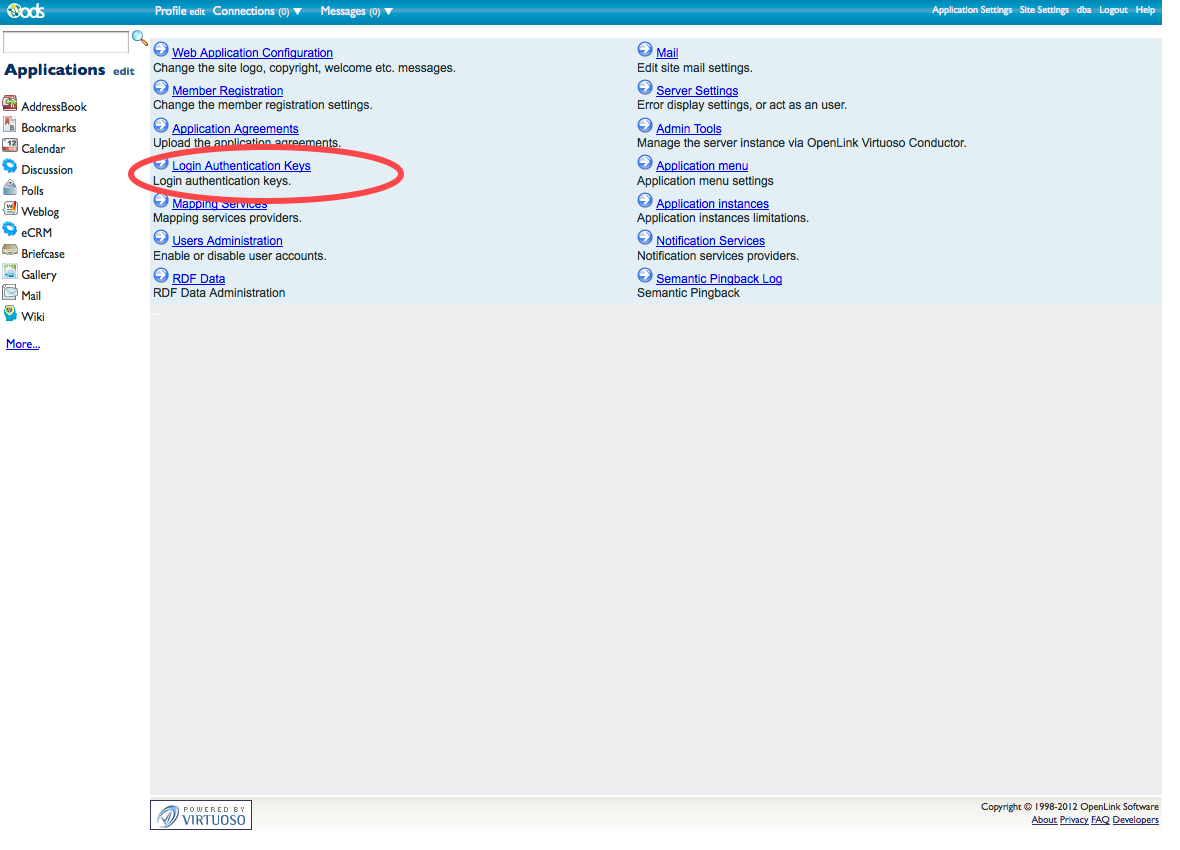
- Click on Login Authentication Keys:
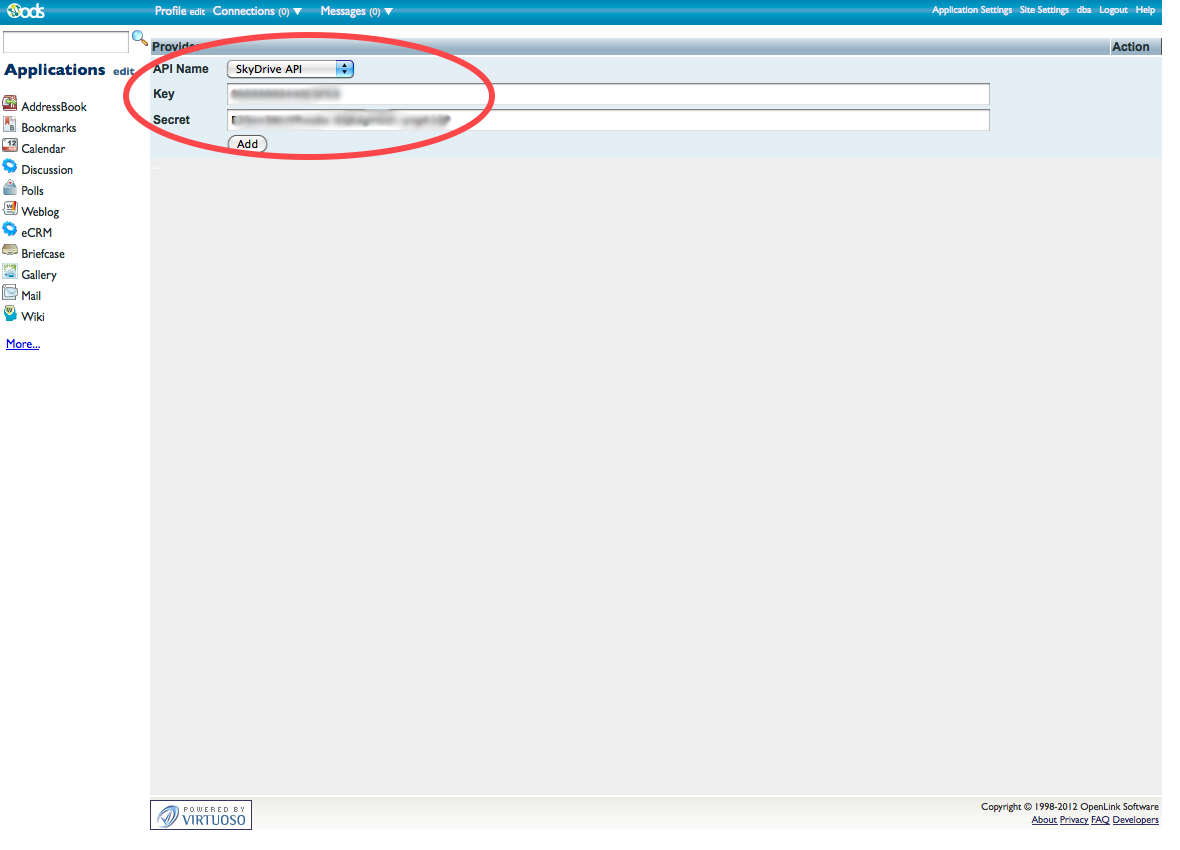
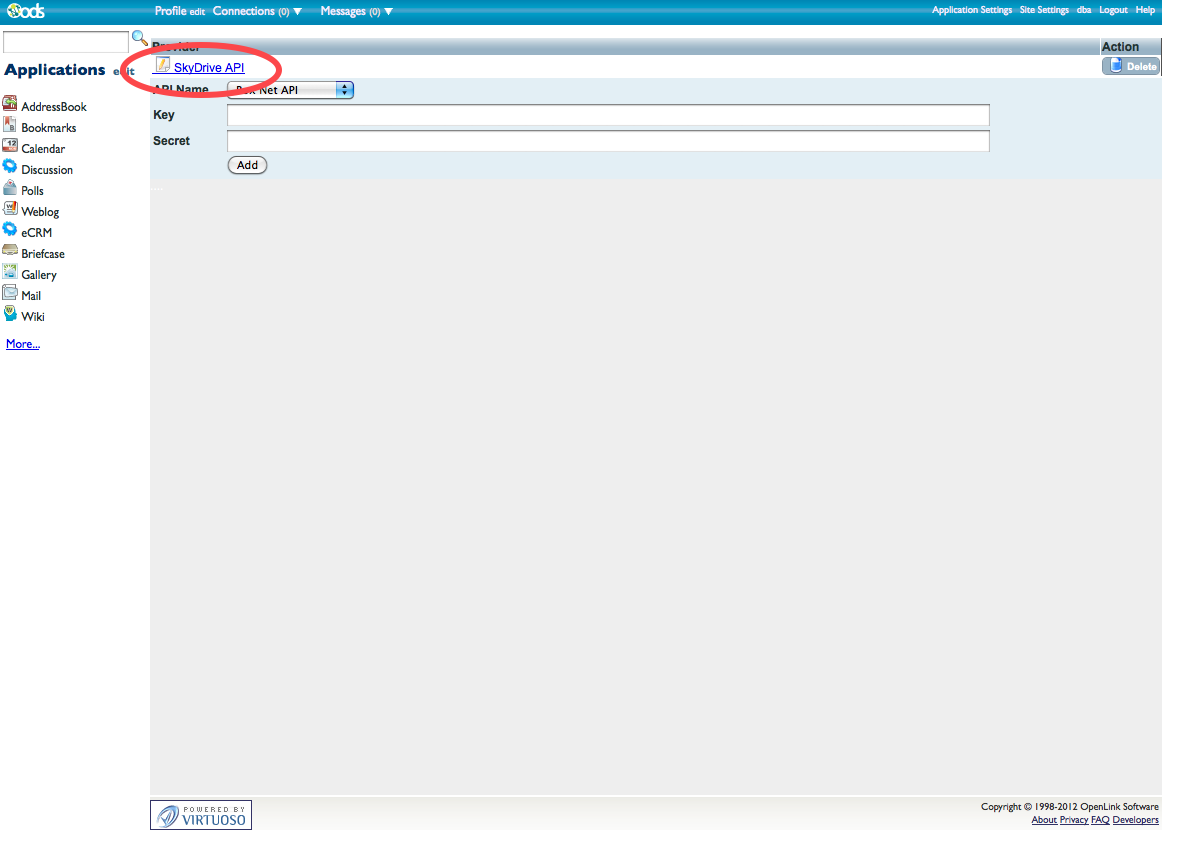
- Select
OneDrive API in the API Name menu, provide the Client ID and Client secret from the new Live Connect application you created above, and click Add.
- ODS-Briefcase is now configured to use
OneDrive.
3 - Access files stored on
- Browse to your Virtuoso + ODS instance,
http://<cname>[:<port>]/ods, e.g., <http://example.com/ods/>.
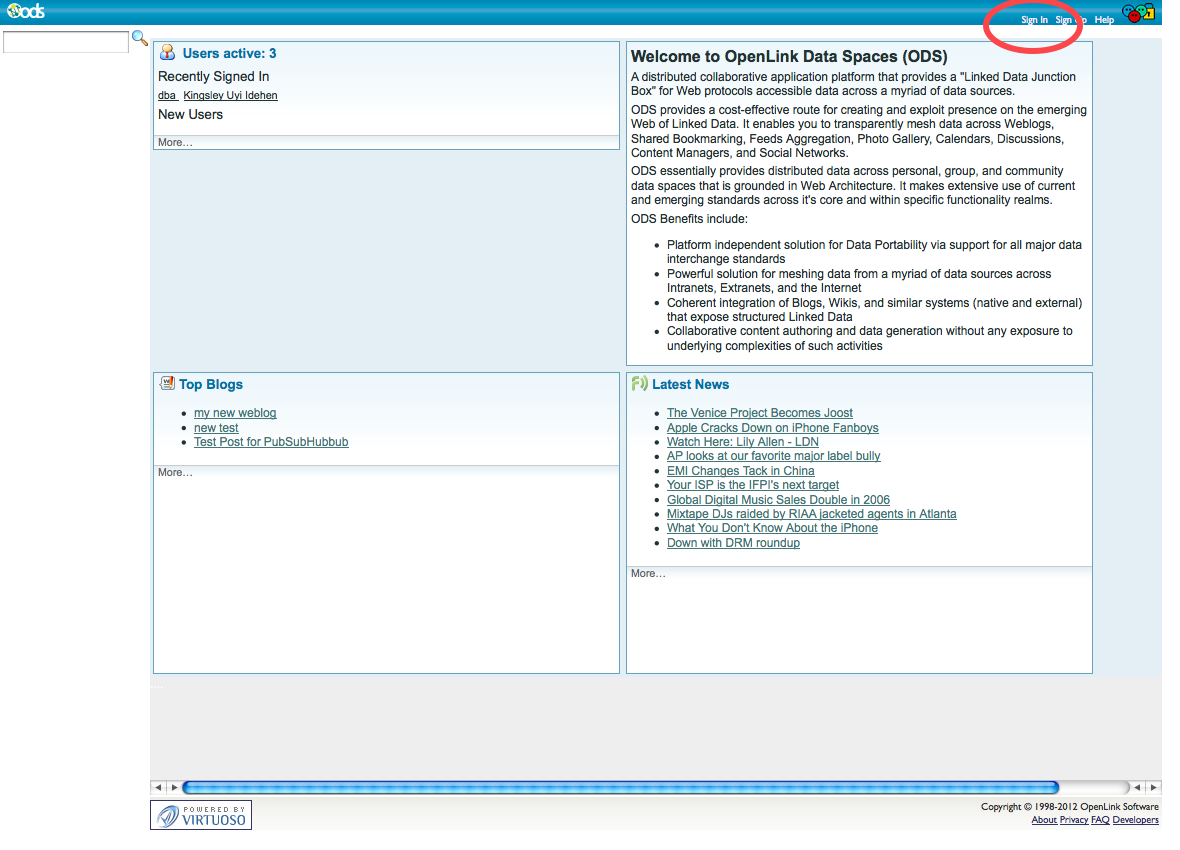
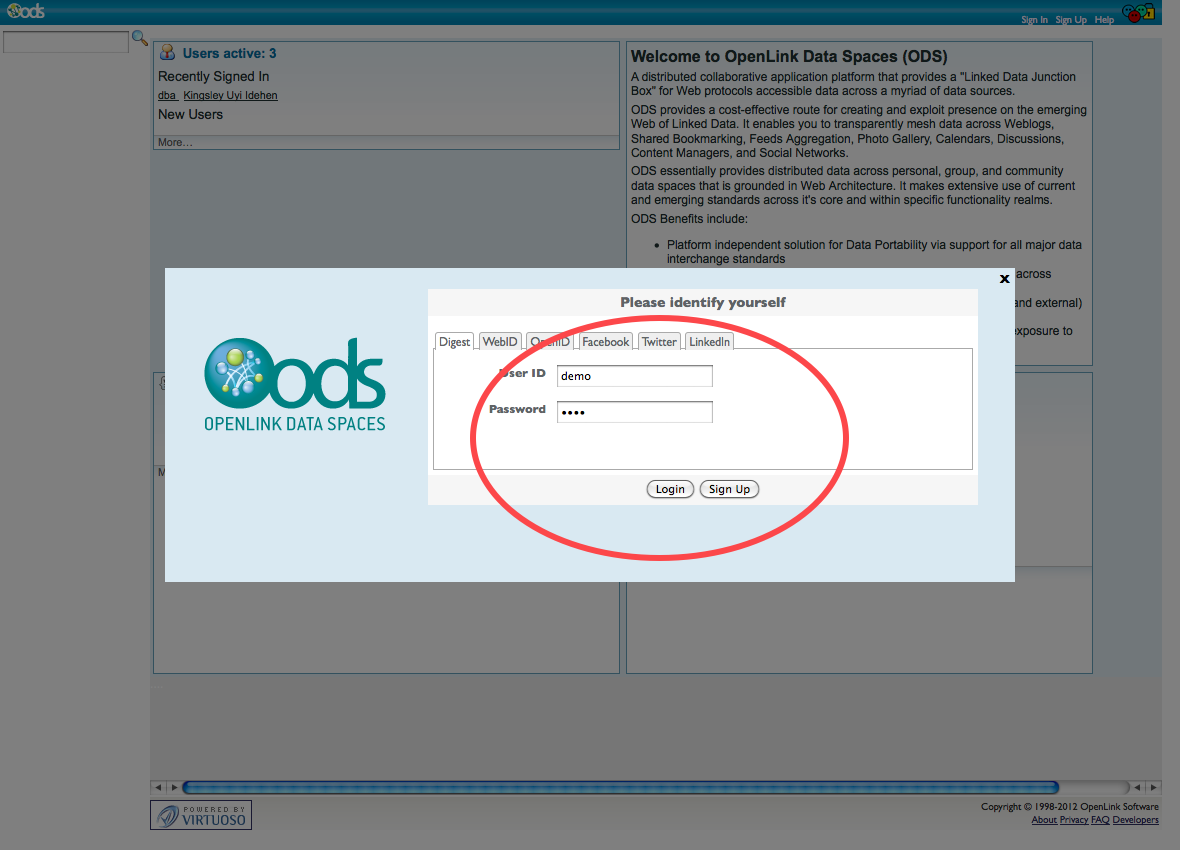
- Log in as a Virtuoso+ODS user with normal privileges, e.g.,
demo.
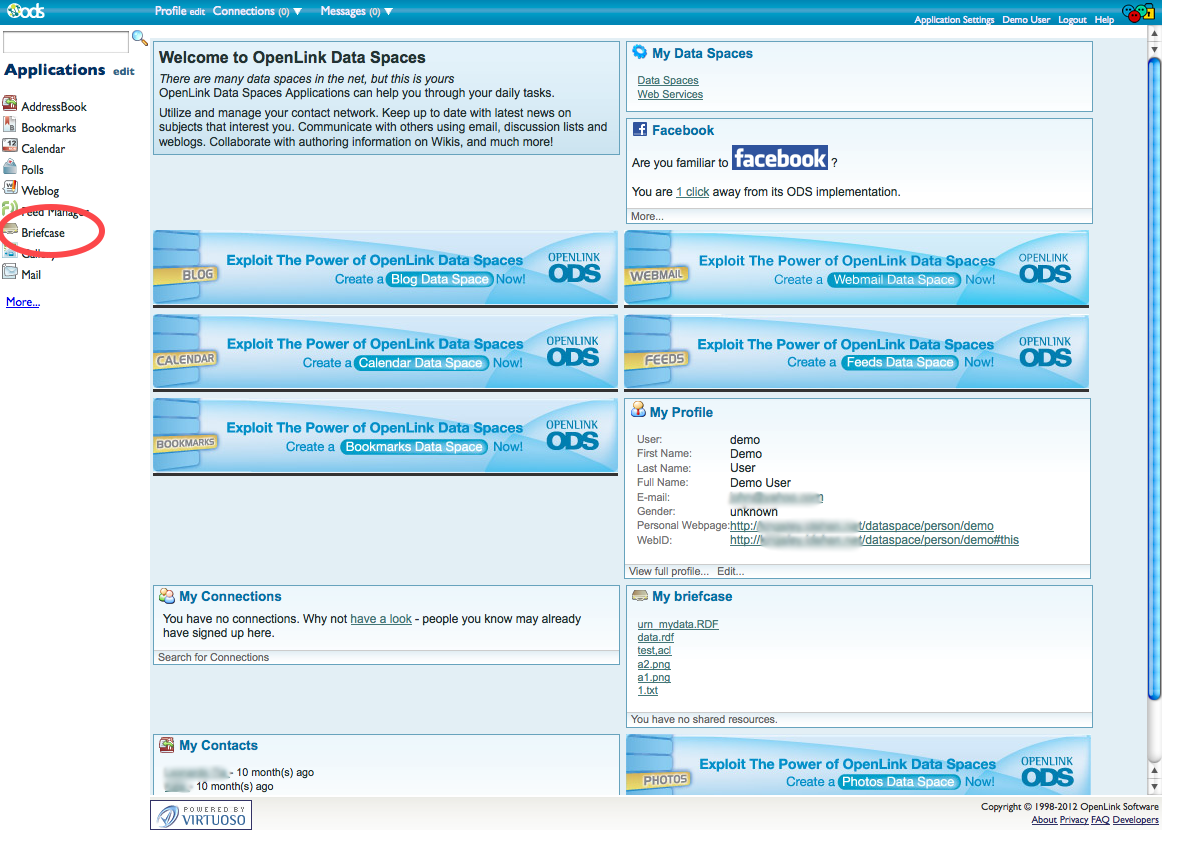
- Click to the ODS-Briefcase application:
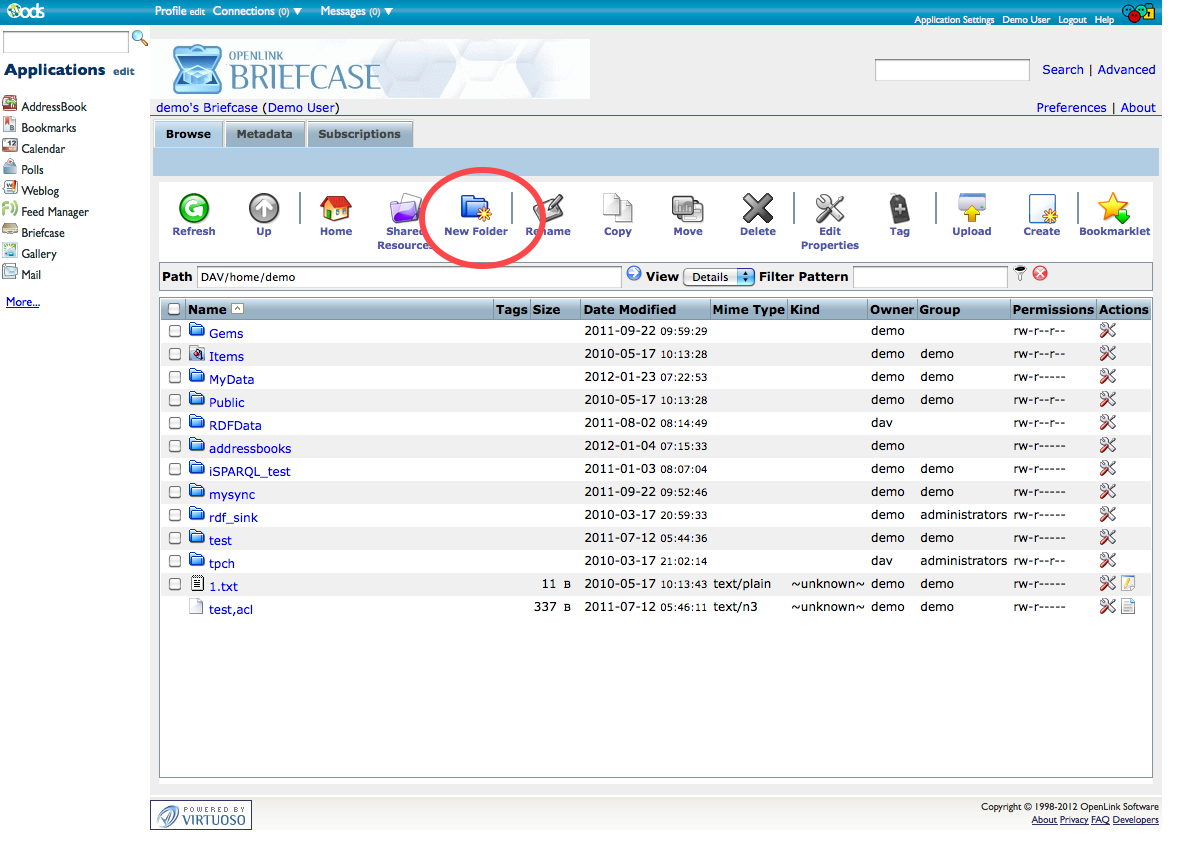
- Click New Folder from the main Briefcase control strip:
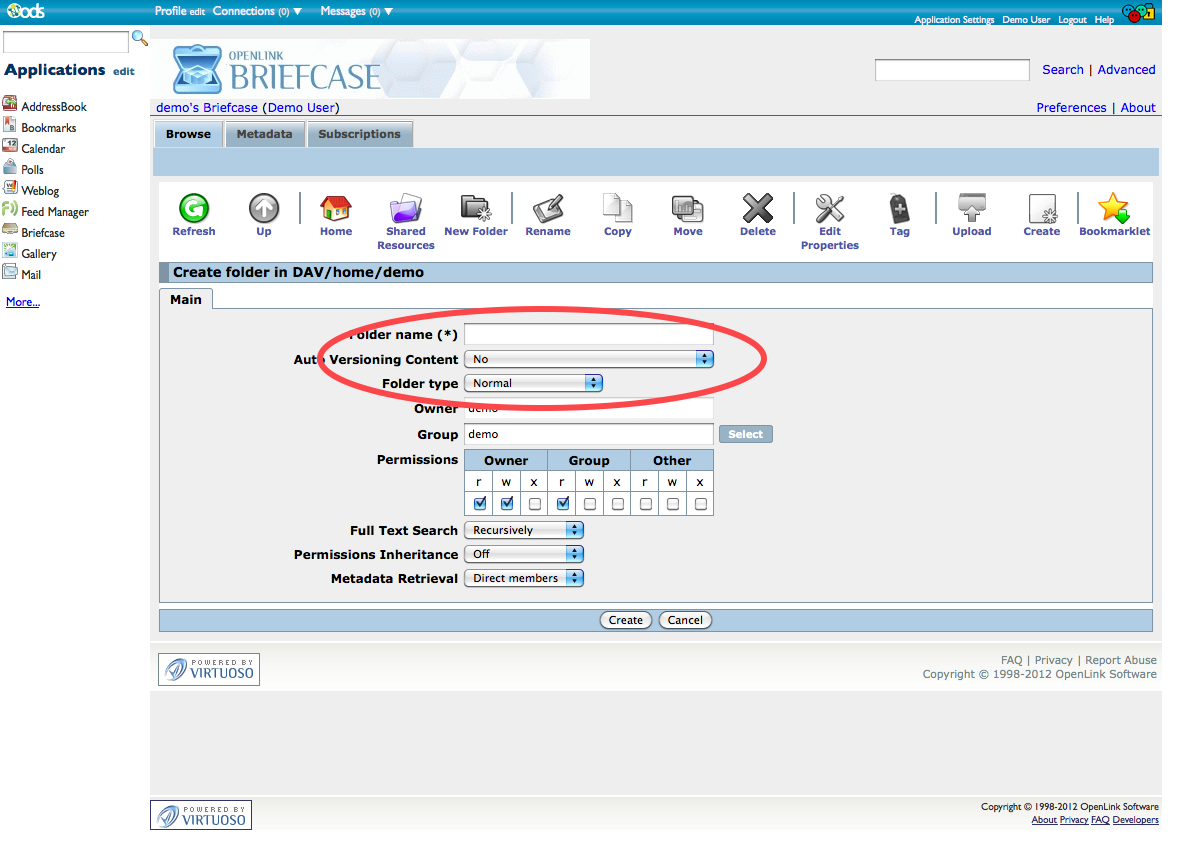
- In the New Folder form, specify a Folder Name, e.g.,
MyOneDriveFolder, and set the Folder type to OneDrive:
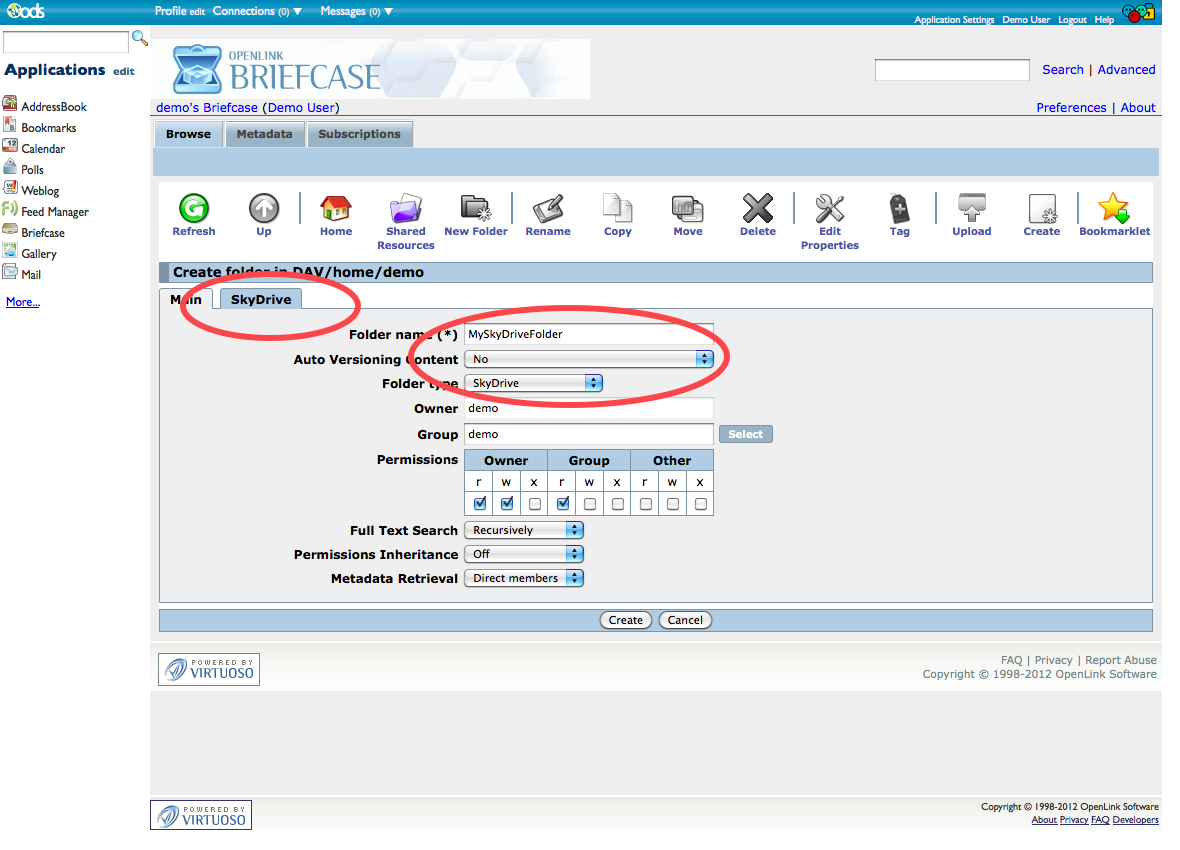
- Click to the newly visible
OneDrive tab:
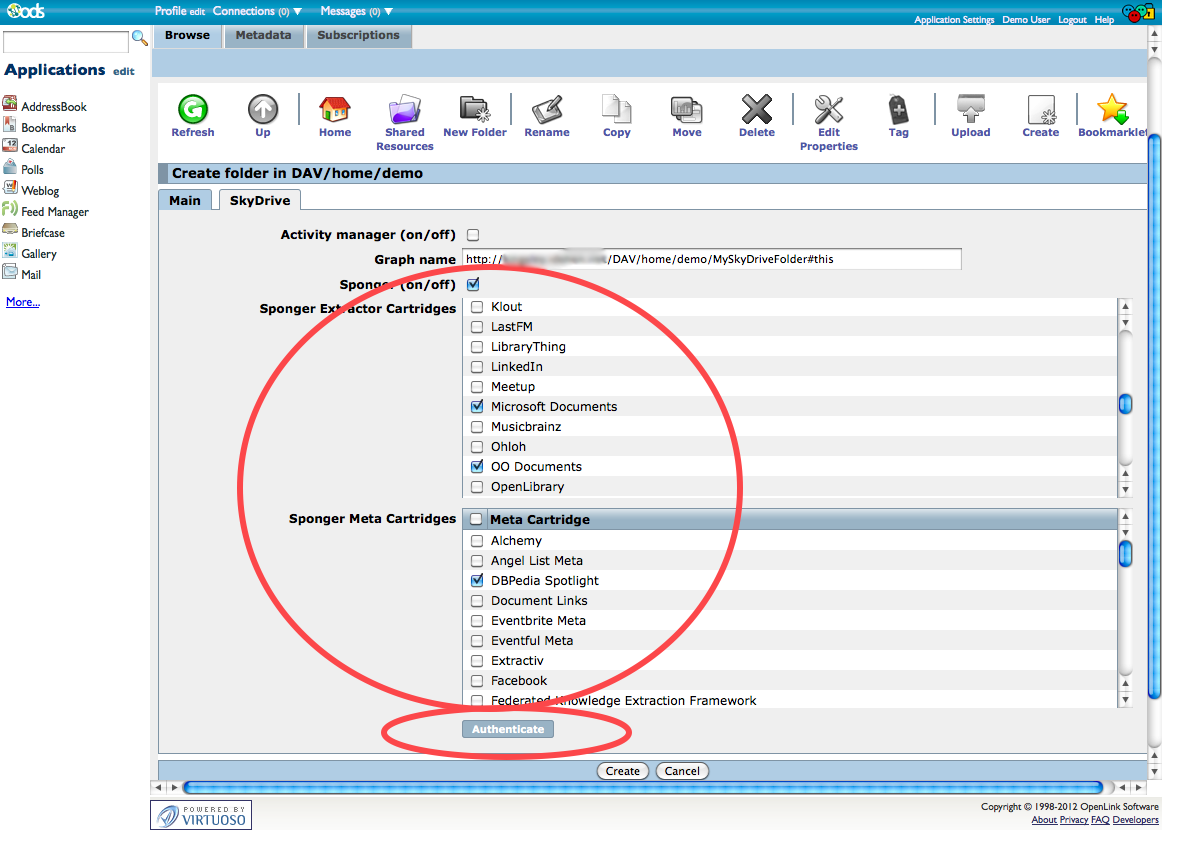
- All RDF data extracted from and otherwise collected about your Google Drive files will be saved to a named graph, where the default name is constructed from the host ODS instance, the ODS username, and the Briefcase folder name --
http://<host>[:<port>]/DAV/home/<user-name>/<folder-name>#this-- so, in this example, the default graph would be named <http://example.com/ods/demo/MyOneDriveFolder#this>. Expert users may wish to change this graph name, but the default is suitable for most users.

- You can also turn on the Virtuoso Sponger, to process your Google Drive files more comprehensively.
When the Sponger is enabled for your folder, you can specify which "Sponger Extractor Cartridges" and "Sponger Meta Cartridges" will be run over the files in your Google Drive.
You can enable all cartridges, but this will introduce some processing overhead.
It's generally best to enable only those cartridges which will be applicable to your files and their content.
For instance, you may know that you'll only be storing Microsoft and Open Office documents here, and that you want to find all Named Entities described by DBpedia.
Then, click "Authenticate", to connect your new folder to your
OneDrive:
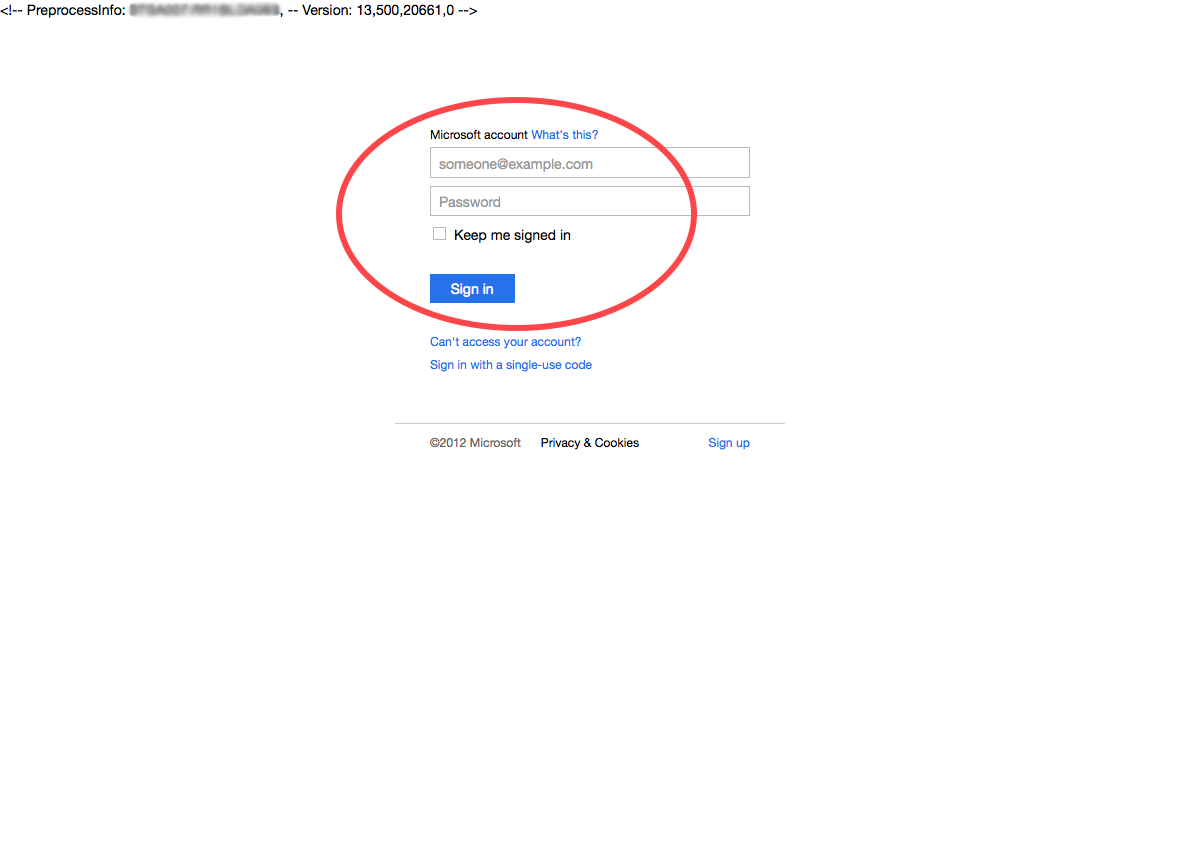
- You'll be prompted to enter your Windows Live user's credentials.
Note that this Windows Live user need not be the application owner/"developer" who got the API key earlier.
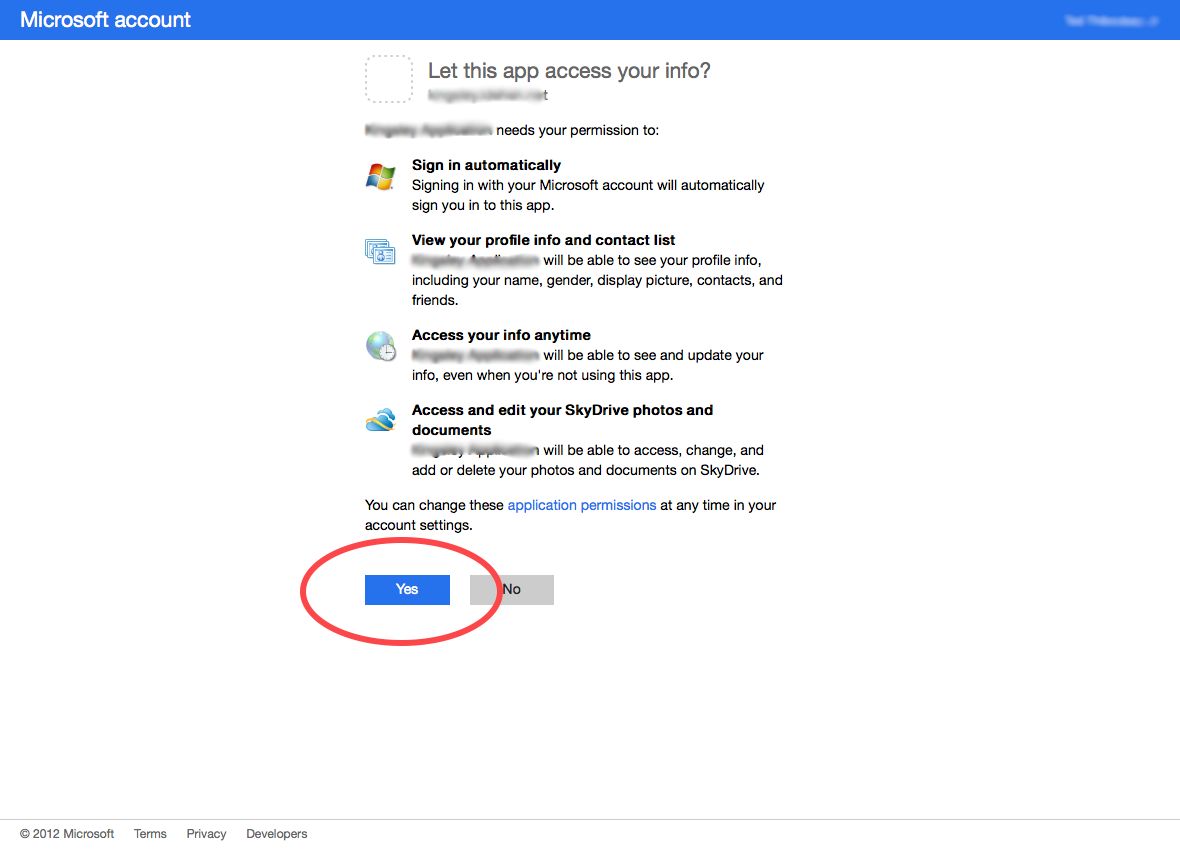
- Windows Live will prompt for confirmation that you intend to let your application ("
MyODSOneDrive") have access to your OneDrive content. Click Yes.
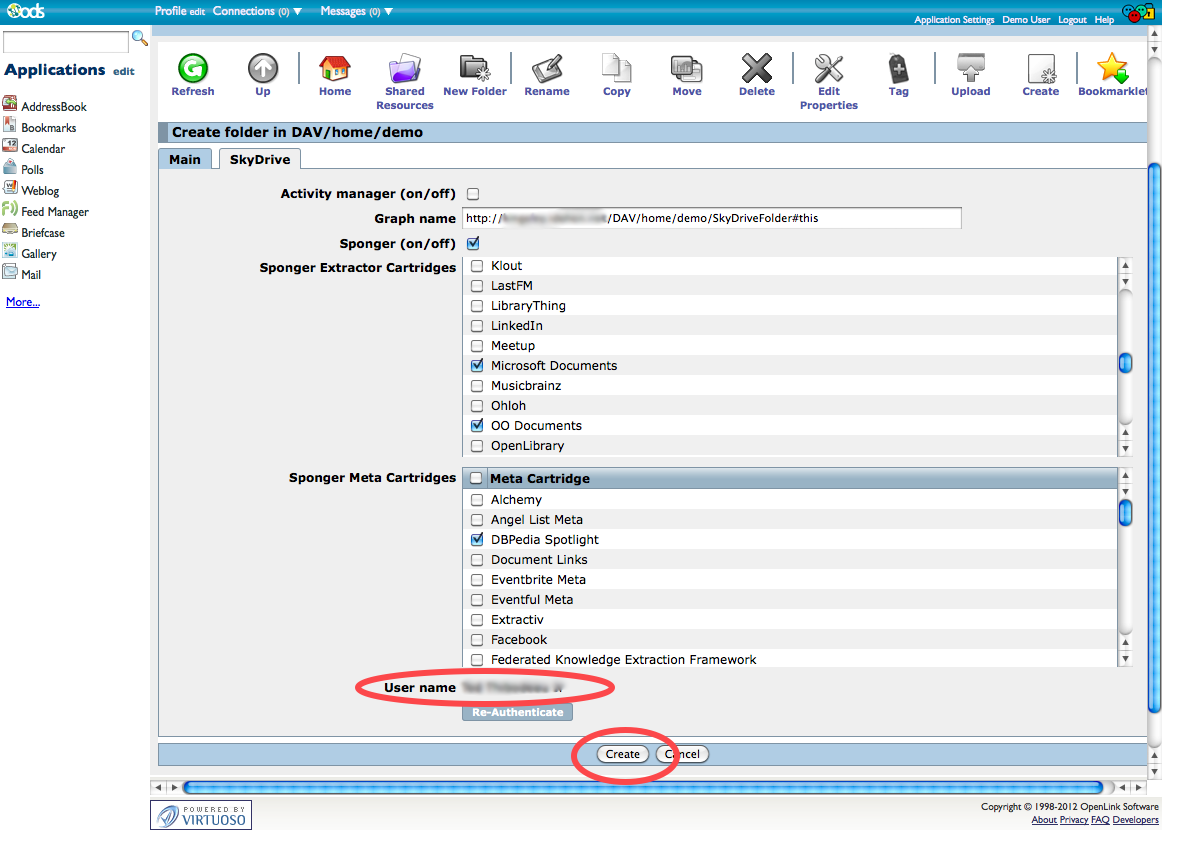
- Your Windows Live user's real name will now be displayed.
Click Create to finish the folder creation process.
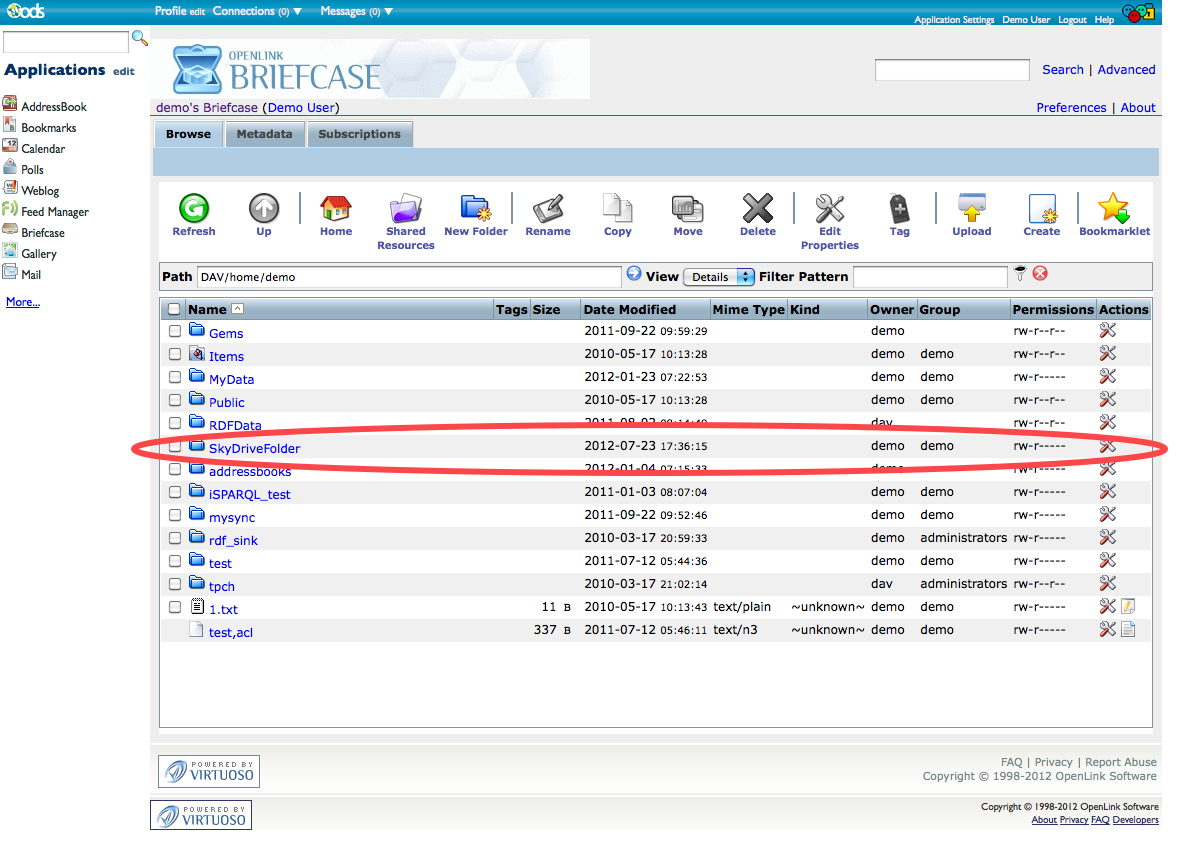
- Your new
OneDrive-linked folder should now be displayed in your Briefcase resources list:
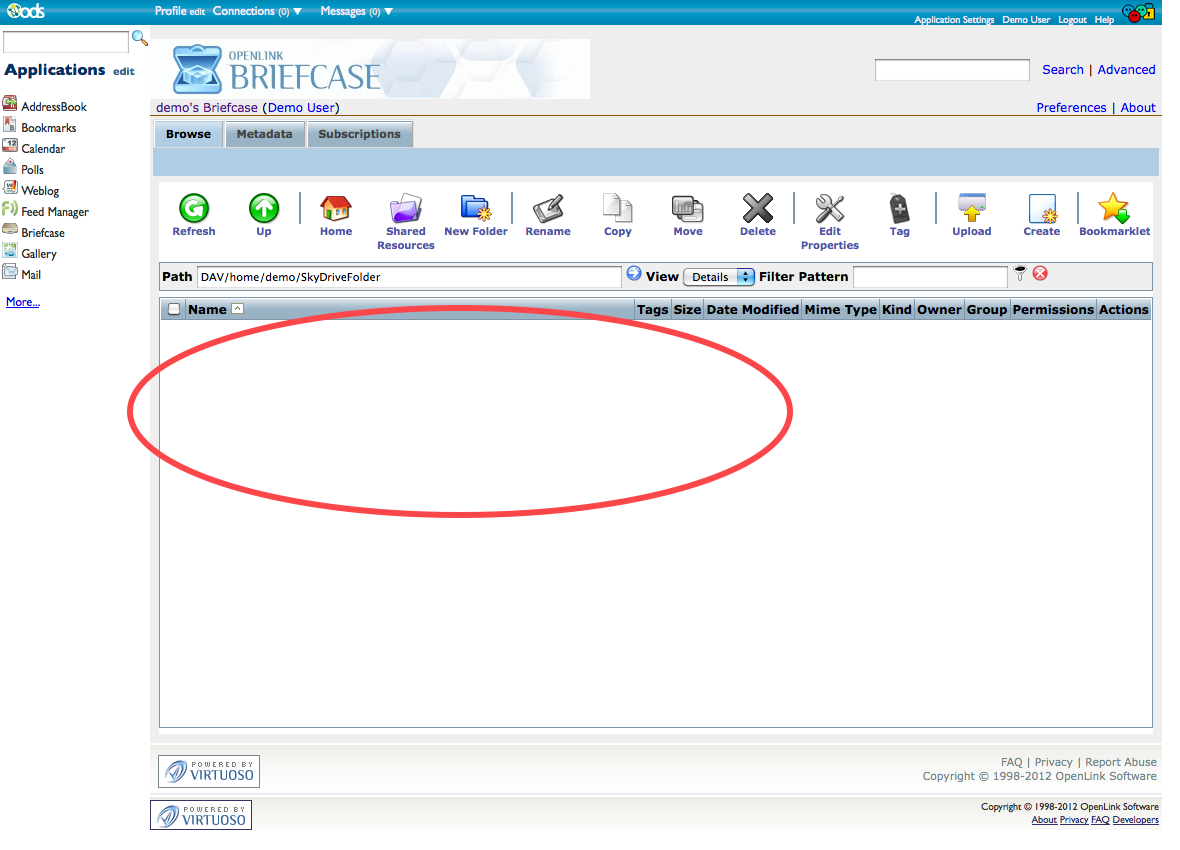
- Click the folder name to see the resources ODS-Briefcase has found in your
OneDrive Dataspace:
Related
- How Linked Data & WebID Deliver Controlled Access to Resources in Google Drive, OneDrive, DropBox, Box.Net, and Amazon S3
- Using ODS-Briefcase to mediate access to data stored on Amazon S3
- Using ODS-Briefcase to mediate access to data stored on Box (a/k/a box.com or box.net)
- Using ODS-Briefcase to mediate access to data stored on DropBox
- Using ODS-Briefcase to mediate access to data stored on Google Drive
- Manage different Briefcase type folders in Briefcase
- ODS-Briefcase
- Virtuoso Sponger
- OpenLink-supplied Virtuoso Sponger Cartridges
- Supported Meta Cartridges in Virtuoso
- Meta Cartridges Usage via REST Request
- Parametrized Examples of Meta Cartridge Usage via REST Request