ODS Facebook Integration Guide
An ODS Instance Administrator may register that Instance as a Facebook Client Application.
Users of the ODS Instance can then link their ODS account with their Facebook account, allowing them to log in to ODS using their Facebook credentials, and/or integrate ODS content and services with Facebook content and services.
- Active Facebook user cookies and/or session data in the web browser which is accessing the ODS-Facebook page are used to --
- display data about that Facebook user on the ODS-Facebook page
- display a list of that Facebook user's friends on the ODS-Facebook page
- The ODS user can link a new or existing ODS-AddressBook instance to their Facebook account, and
- populate it with contact info for his/her Facebook friends.
- update contact info based on what is retrieved from Facebook.
- All data for the Facebook friends of the logged-in user is automatically imported to ODS (Virtuoso) as RDF.
- The data is updated each time the user visits this page.
- After successful RDF data import, "rdf" icons -
 - alongside each Facebook friend's name become dereferenceable links to the RDF data.
Below, we discuss how to enable and use these features.
Setup
First, the ODS Instance Administrator must register the Instance as a Facebook App.
Then, any ODS User may link their ODS account with their Facebook account.
User Interface
- Note: The steps from below can be performed from every ODS user only when the Setup steps from above have been performed.
- Authenticate in ODS using your Facebook account
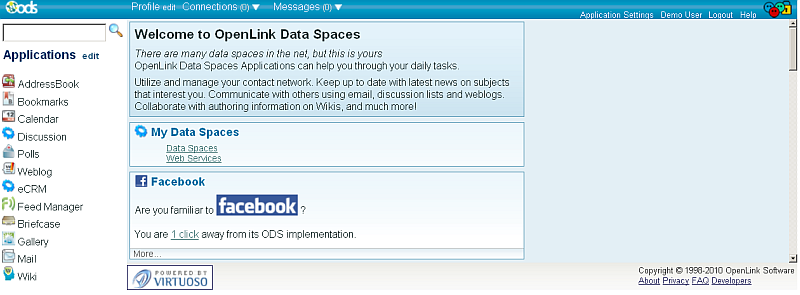
- Once logged in as your Facebook account, will be shown your ODS home page.
Click the presented Facebook link.

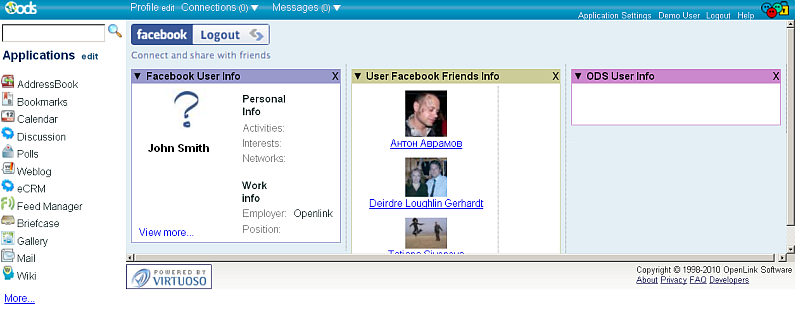
- You should be redirected to the Facebook front page in ODS:

The "Synchronize All" Feature
- Click the "Synchronize" link from the "ODS User info" block.
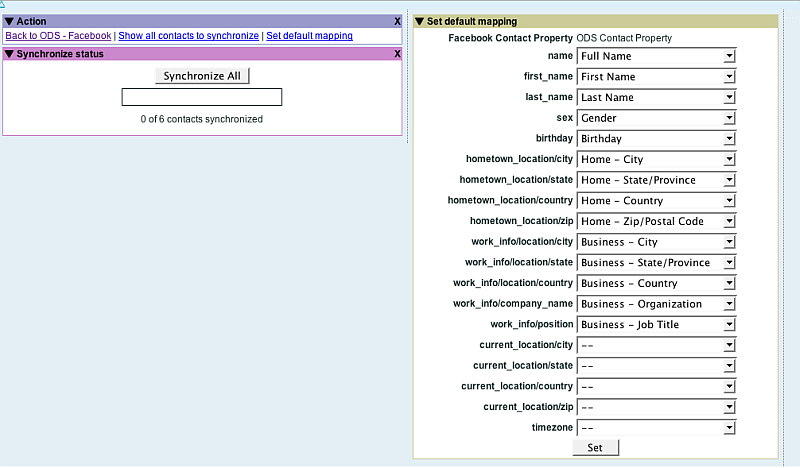
- The "Synchronize all" interface should be opened.

- Click the "Synchronize All" button.
- As result all existing contacts should be updated (using the first contact that matches synchronization criteria) in ODS-AddressBook with default/custom mapping.
- The user is able to set a custom mapping for synchronization using the "Set default mapping" block. If the user does not set custom mapping, then the default mapping will be used.
The "All Contacts to Synchronize" Feature
- Click the "Show all contacts to synchronize" link.

- The user is offered the option to synchronize his/her contacts one-by-one.
- The UI presents separate blocks for each FB friend.
- The user is offered all available field value matches for Facebook friends in their ODS-AddressBook contacts.
- By default, the first match is selected.
- The user can change the matching criteria for the synchronization.
- Facebook and ODS-AddressBook contacts are presented with links, so the data for them can be compared, and the right matching pair can be chosen.
- There is a choice to use default or manual mapping for contact properties.
- The Default mapping can be set by clicking the link "Set Default Mapping".
- This feature offers the ability to synchronize in groups.
- When the Default mapping is set, you can click the "Default" button for contacts and proceed further.
- Manual mapping can be set by clicking the "Manual" button from the combo button available for each user.
- The user will be asked to set mapping, and then contact synchronization is executed.
- The Default mapping can be set by clicking the link "Set Default Mapping".
Related
CategoryODS CategoryOpenSource CategoryVirtuoso CategoryHowTo CategoryOdsAddressBook CategoryAddressBook