
ODS Guide for Sending Digitally Signed Messages
What?
A digital certificate is a pair of files on your computer that you can use to create the digital equivalent of handwritten signatures and sealed envelopes. Each pair of files is divided into two parts: the public key and the private key. The public key is the portion that is shared; the private key is the portion that you, and only you, should have access to. Your computer and programs understand how to share only the public portion of your keys so that others can see them, while still keeping your private keys secure.
For example, when sending an e-mail message, you can digitally sign the message by attaching your digital certificate. Once they receive the message, recipients can verify that it came from you by viewing the small attachment on the e-mail, which contains your public key information. This protects you from people who might try to "spoof" an e-mail that looks like it came from you but is really sent from a different e-mail account.
Why?
Sending Digitally signed email messages ensures the recipients that the message came from you and not someone pretending to be you.
How?
Digitally signing a message applies your signature to the message. This includes your SMIME + WebID certificate (a digital means of proving your identity ) and public key ( the key a sender gives to a recipient so that the recipient can verify the sender's signature and confirm that the message was not altered).
Assume the following sample scenario:
- There are 2 ODS users for ex. with names john and kate.
- john generated SMIME + WebID Certificate which contains also Private Key.
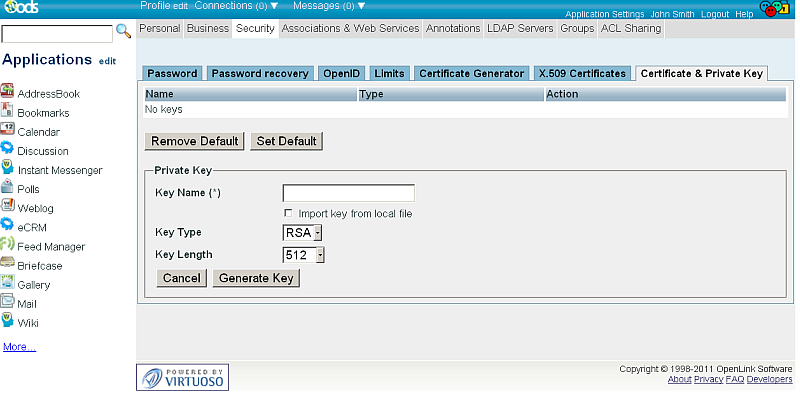
- john logs in and goes to Profile Edit->Security->Certificate & Private Key
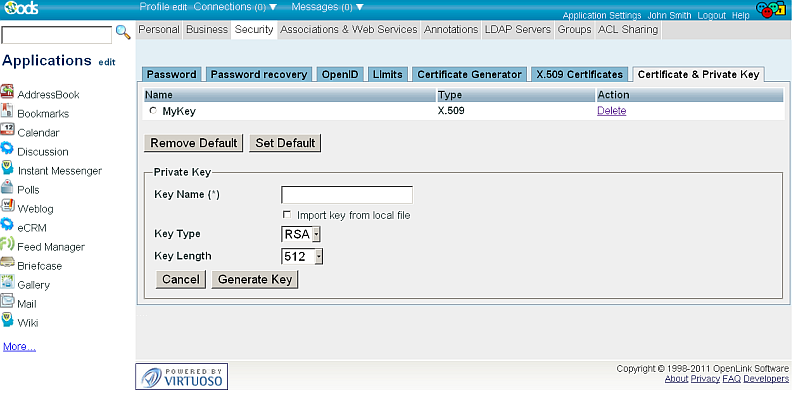
- john imports its certificate, for ex.
with name: MyKey:
- Hatch "Import key from local file"
- Click "Choose file" and select the generated from above SMIME + WebID Certificate.
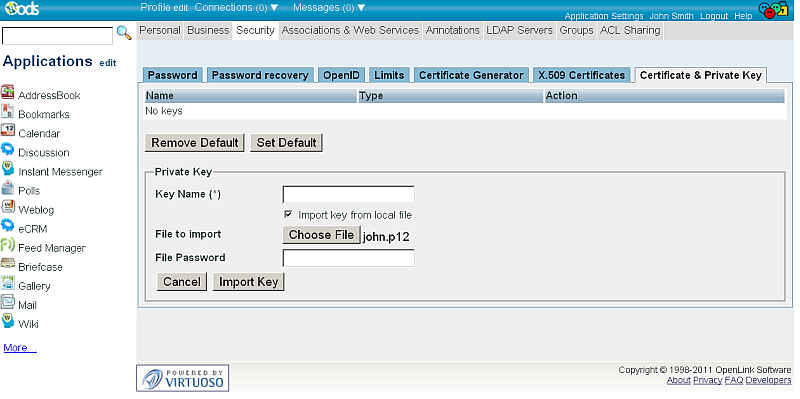
- Enter "Key Name": MyKey
- Enter key's password.
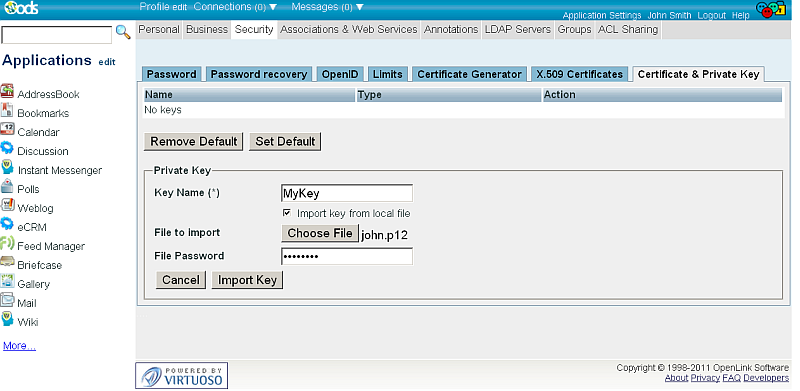
- Finally click "Import Key".
- john and kate create their own ODS Webmail instances:
- Go to Application Settings -> Applications Management ->New Application -> Mail
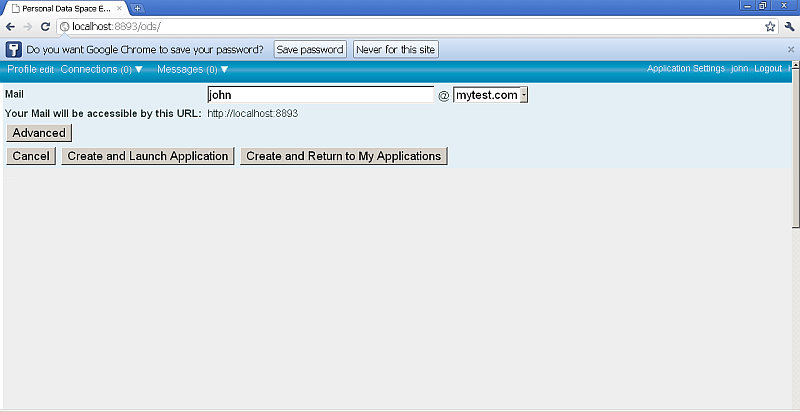
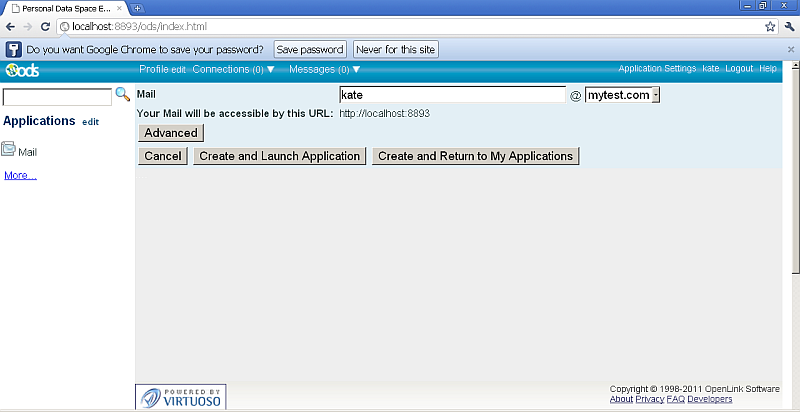
- Click "Create and Launch Application".
- Go to Application Settings -> Applications Management ->New Application -> Mail
- john goes to its ODS Webmail Application instance -> Preferences and selects:
- For "Digitally signing (with certificate)": the MyKey private key imported from above;
- Hatch the check-box "Digitally sign messages (by default)"
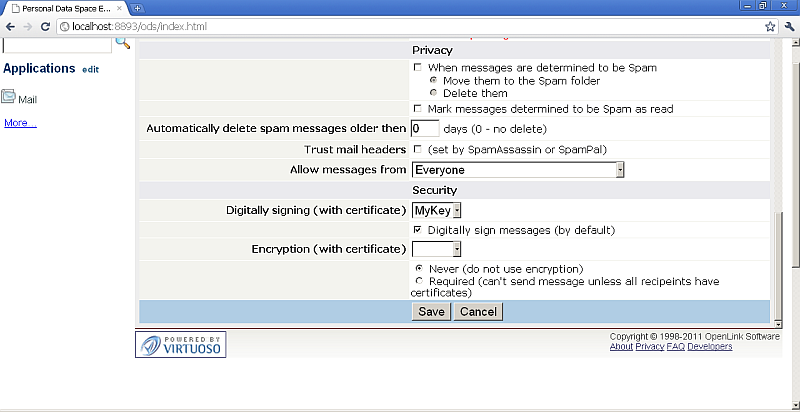
- Finally, john confirms the changes by clicking "Save".
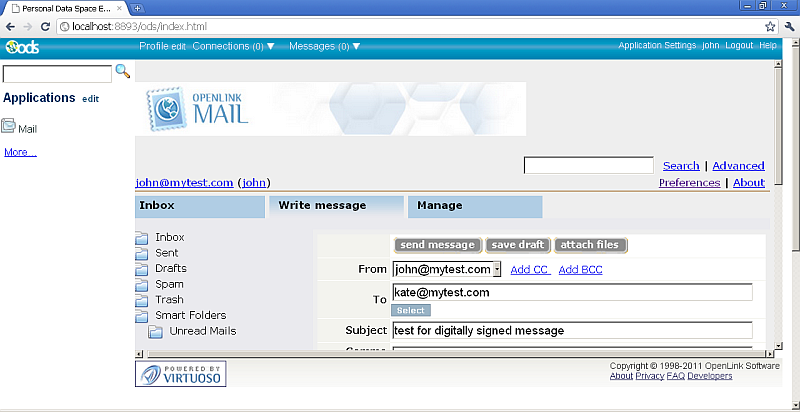
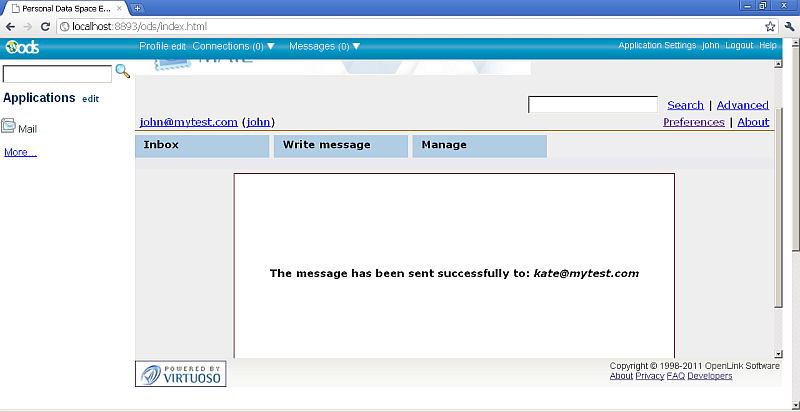
- john goes to "Write Message" and sends kate a SMIME+Web ID Signed Message with the following values:
- "To": <none>
- "Subject": test for digitally signed message
- "Message": This message should be digitally signed in.
- kate goes to its ODS Webmail "Inbox" where should be shown a new mail has arrived from john.
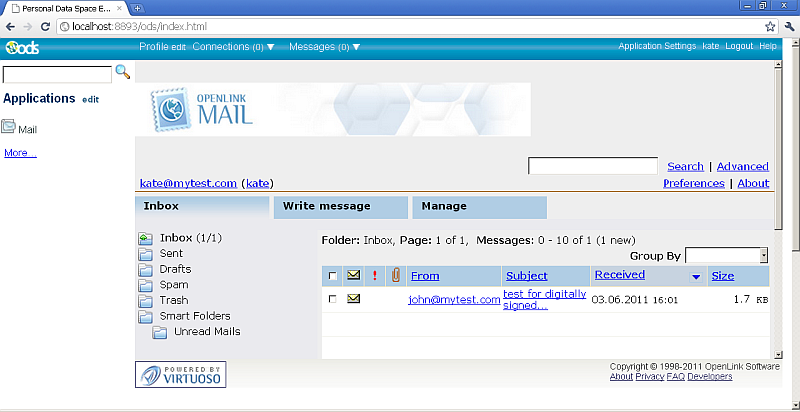
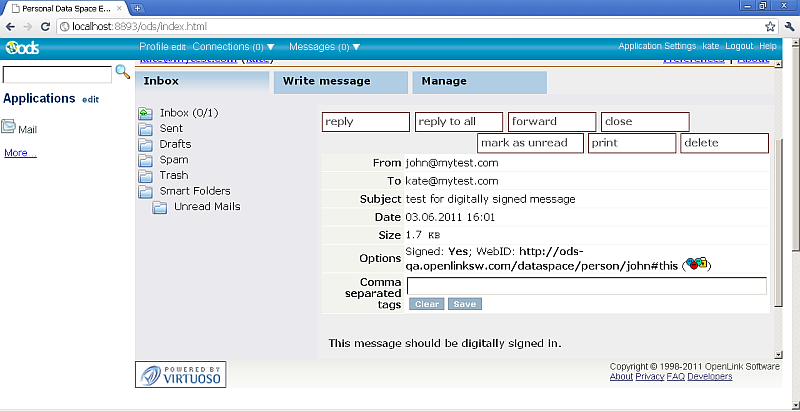
- The new mail message should have "options" field with the following information:
- The message is Digitally Signed or not: Yes / No
- WebID ( if there is such).
- Indicator icon for digitally signed in msg.
options: Signed: Yes; WebID: http://ods-qa.openlinksw.com/dataspace/person/john#this
Related
- ODS-Mail
- ODS-Mail Evaluate SMIME + WebID Support Guide
- ODS Webmail Guide for Optionally Encrypting Emails
- Understanding Digital Certificates
- Digital signature
- Digital Signature diagram