ODS.ODSMailSpamFilterRule
Manage Spam Filter with Addressbook interaction Example
- Go to http://cname/ods and register an user, for ex.
test1.
- Create a ODS-Mail instance for user test1, for ex.
with name test1@domain.com.
- Go to the ODS-Mail -> Preferences -> Privacy.
- Set "Allow messages from" to "My contacts only" and check "When messages are determined to be Spam" with option "Move them to the Spam folder".
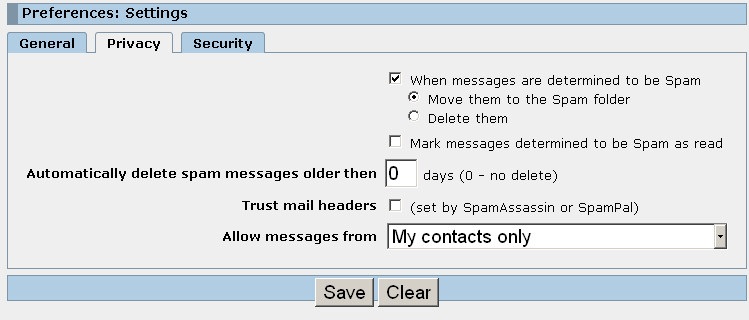
- Click the button "Save".
- Create a ODS-Mail instance for user test1, for ex.
with name test1@domain.com.
- Go to http://cname/ods and register an user, for ex.
test2.
- Create a ODS-Mail instance for user test2, for ex.
with name test2@domain.com.
- Create a ODS-Mail instance for user test2, for ex.
with name test2@domain.com.
- Go to http://cname/ods and register an user, for ex.
test3.
- Create a ODS-Mail instance for user test3, for ex.
with name test3@domain.com.
- Create a ODS-Mail instance for user test3, for ex.
with name test3@domain.com.
- Go to http://cname/ods and log in as user test1.
- Create an AddressBook instance for user test1.
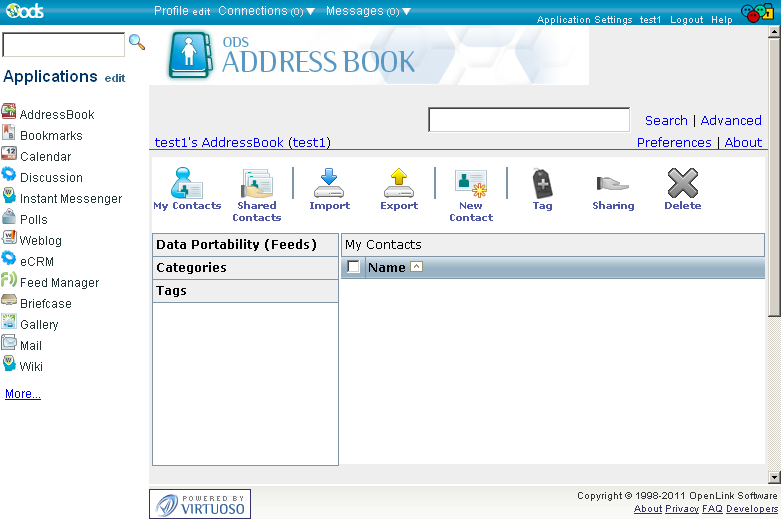
- From the AddressBook instance UI click the "New Contact" button.
- In tab "Main" specify name for ex.: John ;
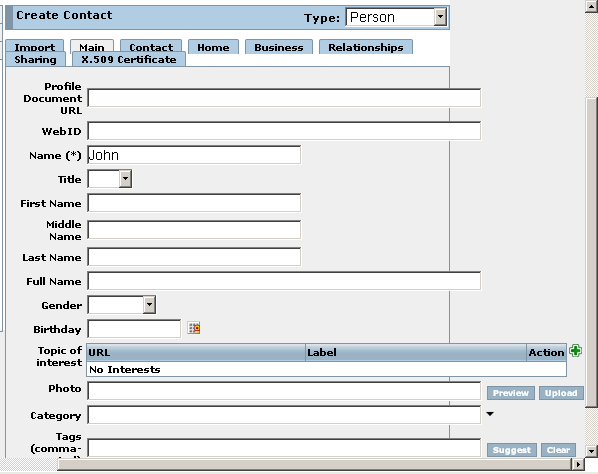
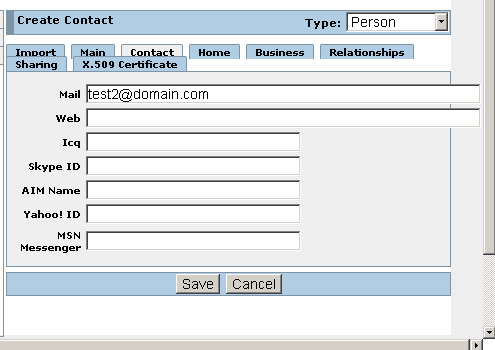
- Go to tab "Contact" tab.
- Enter for "Mail": test2@domain.com.
- Note: this should be valid e-mail address of the ODS user test2.
- Note: this should be valid e-mail address of the ODS user test2.
- Click "Save":
- In tab "Main" specify name for ex.: John ;
- Create an AddressBook instance for user test1.
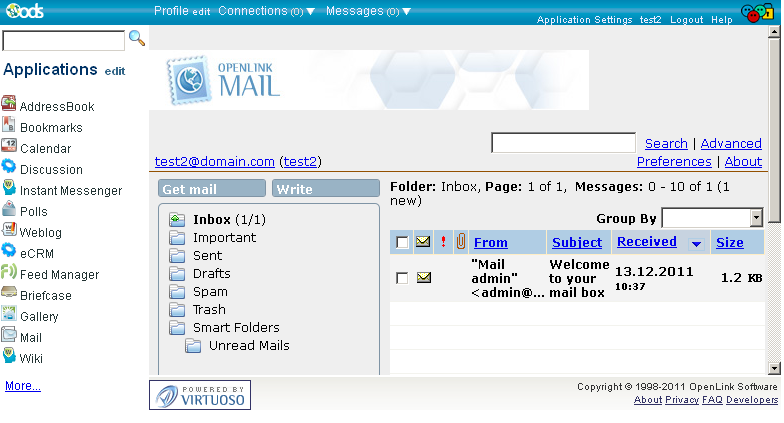
- Go to http://cname/ods and log in as user test2.
- Go to user test2's ODS-Mail instance:
- Click "Write message".
- In the shown form enter for the following fields respectively:
- "To": test1@domain.com.
- "Subject": simple test ;
- "Comma separated tags": test ;
- "message":
This is simple test.
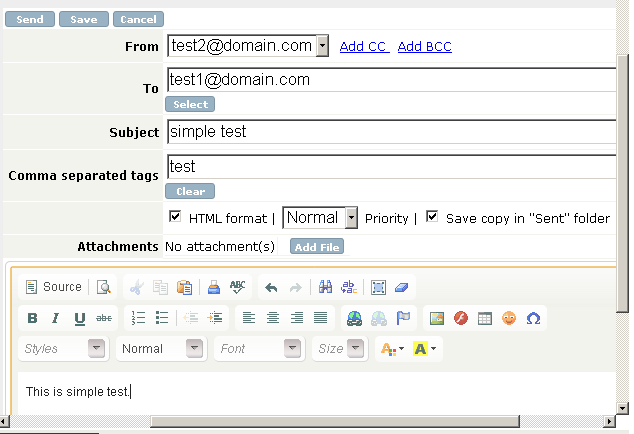
- Click "Send".
- As result the following message should be presented:
The message has been sent successfully to: test1@domain.com
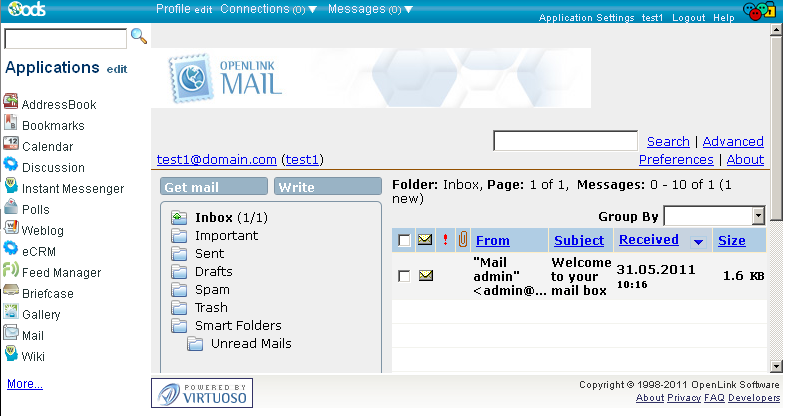
- Go to http://cname/ods and log in as user test1.
- Go to user test1 ODS-Mail instance.
- Inbox should contain one mail message from test2@domain.com.

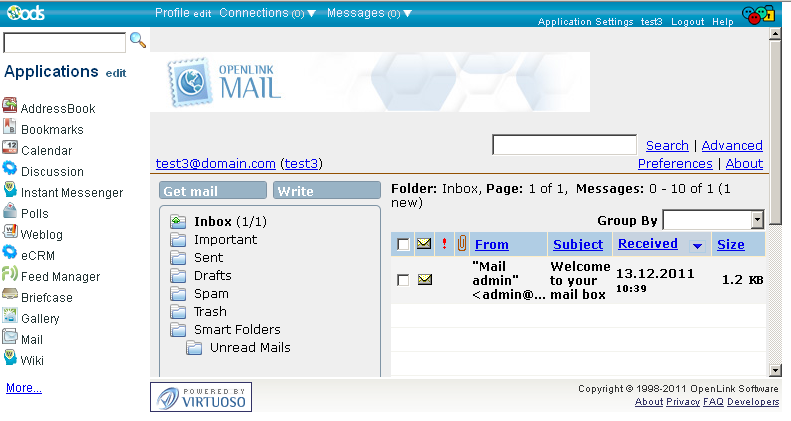
- Now let's see what will happens when user test1 receives mail from a sender, which is not in his/her contact list. Go to http://cname/ods and log in as user test3.
- Go to user test3's ODS-Mail instance.
- Click "Write message".
- In the shown form enter for the following fields respectively:
- "To": test1@domain.com
- "Subject": new test
- "Comma separated tags": test.
- "message":
This is new test.

- Click "Send".
- As result the following message should be presented:
The message has been sent successfully to: test1@domain.com
- Go to http://cname/ods and log in as user test1.
- Go to user test1's ODS-Mail instance.
- In the Spam folder should be indicated 1 new message has been received. Click on its subject link in order to view the message content.
- The message should be from the sender with mail test3@domain.com:

Related
- ODS-Mail
- ODS-Mail's Installation Guide
- Creating Filters in ODS-Mail
- ODS-Mail's SMIME + WebID Support Guide
- ODS-Mail's Programmers Guide
- Configure an external POP3 account in ODS-Mail
- Configure an external IMAP4 account in ODS-Mail
- Synchronizing Mozilla Thunderbird IMAP4 account store with ODS-Mail IMAP4 mapped instance