Generate an X.509 Certificate hosted WebID? using IE browser
The following Guide provides the steps through the process of generating and exporting an X.509 hosted WebID? using IE: Note: these steps apply to any ODS instance where you have the requisite privileges.
- Set up an X.509 certificate issuer and HTTPS listener?
- Set up X.509 Certificate Service
- Go to the ODS home page (local or remote) and register new user

- Post registration you end up with an ODS generated Person Entity Identifier (an HTTP URI that Identifies "You") that takes the form: http://cname/dataspace/person/user-name#this

- Edit your profile (Note: If this step is skipped, the resulting X.509 certificate will not have a human readable name)

- Go to Security -> X.509 Certificates
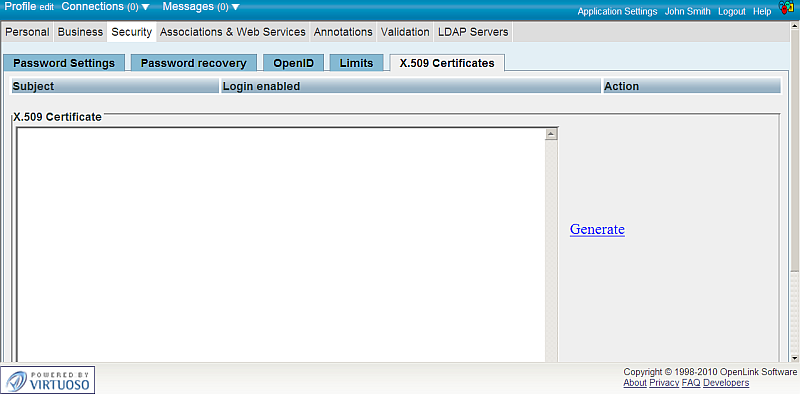
- Click the "Generate" link.
- Note: in other browser it will be shown as button.
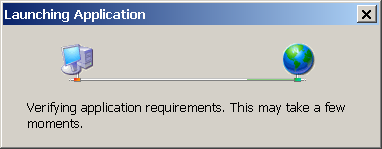
- A notification should be shown:
- When finished, the OpenLink? X.509 Certificate Wizard will be shown:
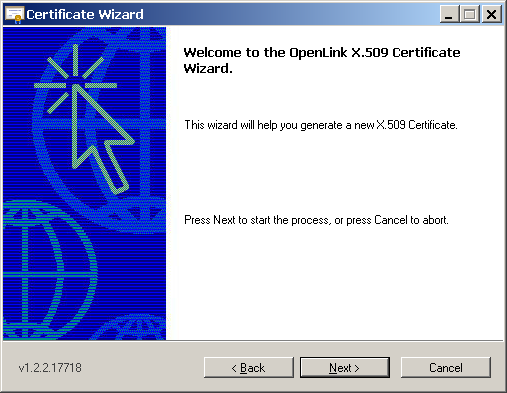
- Click "Next"
- Select the desired certificate to be generated from the Wizard
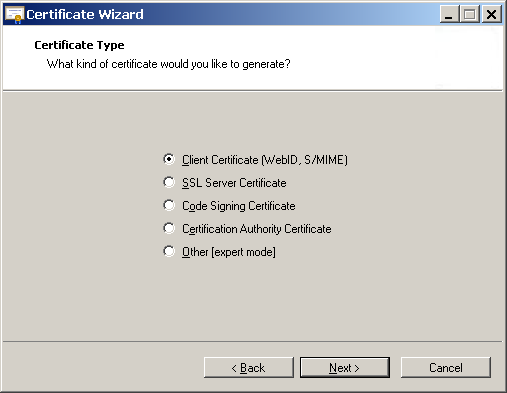
- Click "Next"
- Enter the information for your certificate in the shown form
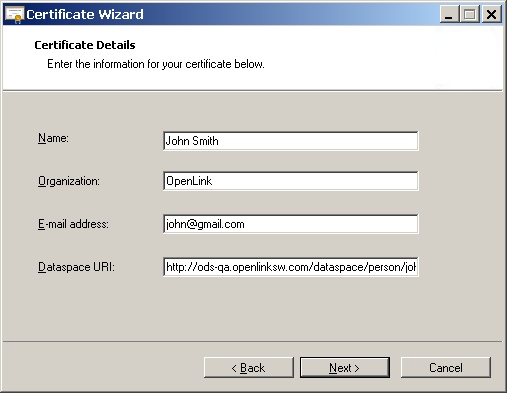
- Click "Next"
- Select the certificate's issuer, if appropriate:
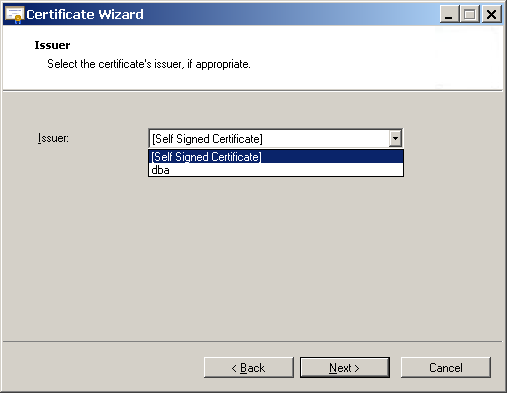
- Click "Next"
- Specify what you would like to do with the generated certificate:
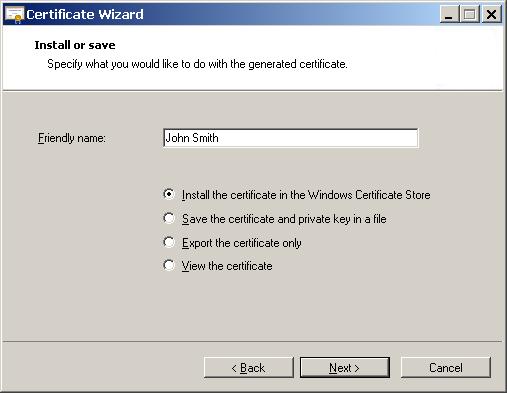
- Click "Next"
- As result will be shown the generated certificate.
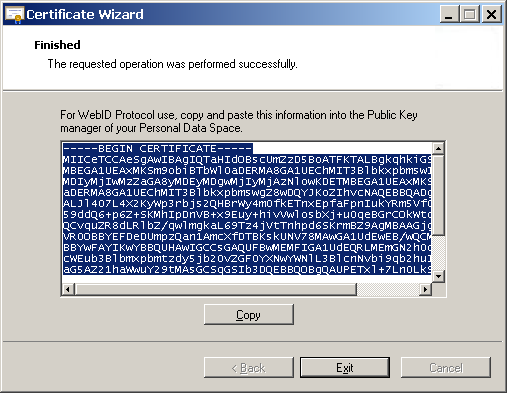
- Click "Copy"
- Click "Exit"
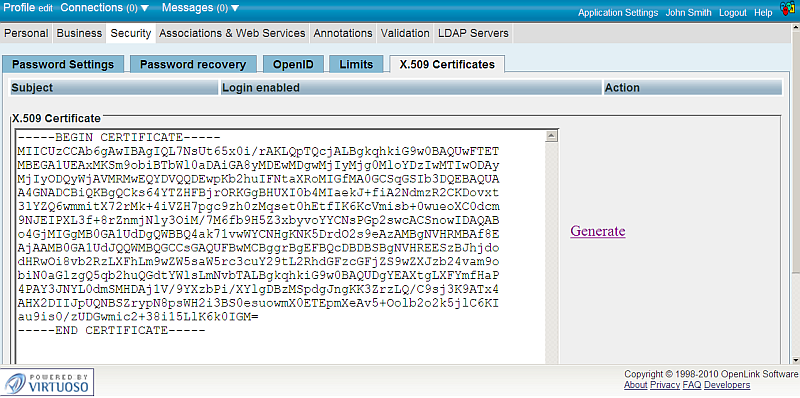
- Back in the ODS Security -> X.509 Certificates, paste the copied file from above in the "X.509 Certificate" area:
- Hatch the "automatic login option" check-box
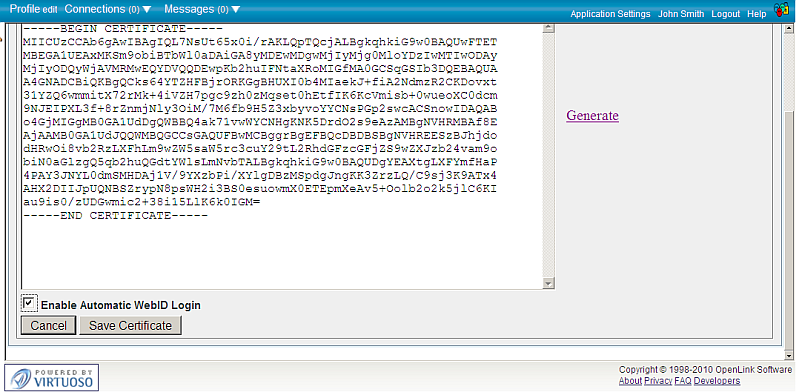
- Click the "Save Certificate" button which writes the Public Key Component of the generated Certificate to your FOAF based ODS hosted Profile data space.
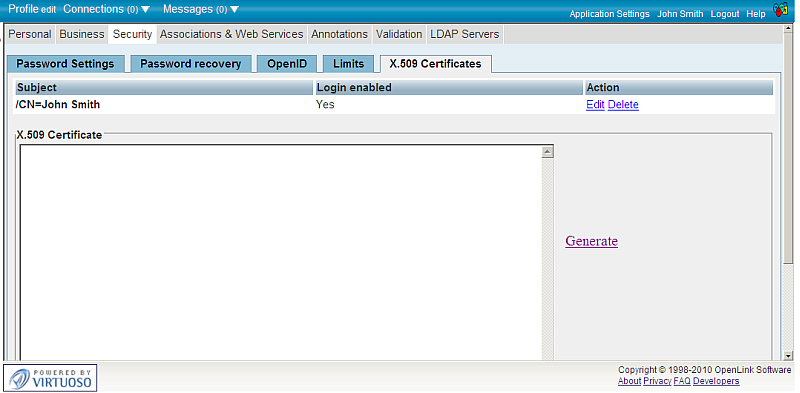
Note: these steps apply to any ODS instance.
Related
- Setting up PubSubHub in ODS
- PubSubHubBub Demo Client Example
- Feed subscription via PubSubHub protocol Example
- Setting Up PubSubHub to use WebID Protocol or IP based control lists
- Creating and Using a SPARQL-SSL based Endpoint
- Set WebID Protocol ACLs using the Virtuoso Authentication Server UI
- WebID Protocol ACLs Tutorial
- SPARQL OAuth Tutorial
- WebID Protocol Support in OpenLink Data Spaces?
- CA Keys Import using Conductor
- Generate an X.509 Certificate hosted WebID Guide?
- ODS Briefcase WebID Protocol Share File Guide?
- WebID Protocol Specification
- Test WebID Protocol Certificate page
- WebID Protocol Certificate Generation page
- Virtuoso Demo SPARQL-SSL Endpoint